

To Learn how a 3D printer extruder, or anything, works, take it apart and reassemble it
I learned what the purpose of the knob on the extruder on a 3D printer, my model at least, is for. It’s for tensioning, but not as I knew.
I have this nondescript knob on the back of my filament extruder, they all have them – for Bowden tubes at least. Direct drive extruders may – I don’t have one and I don’t know and am too lazy to go look right now. (Something has to feed the filament though.)
Just a little black plastic knob with no markings.
The extruder on my printer, an Anycubic Mega S, is a lot like many on the market. And the thing with people that have 3D printers is they’re usually the hacker/scrappy/resourceful types and figure things out and create solutions and solve problems for themselves and others. That describes me, at least. So you don’t see a lot online about these extruders and their shortcomings. I thought I’d provide some.
Some people with other brand machinery print off cute r2d2 knobs and things for theirs, but I don’t have that ability, which isn’t a big loss. That’s just superficial and unfortunate for me. Just FYI – that may be an option for you depending on your extruder.
But I had an extra old extruder sitting around so I took it apart and really looked at it up close to see how they work. And what an extruder knob is used for and how it works, exactly so I’ll know. And I can tell others, especially people new to the hobby and are totally clueless. We all were there at one time, so the broader that bottom rung is, the easier it is to take that first step up(or down, depending on how you like to look at things in life) the ladder.
I wish I could produce a nice clean animated.svg illustration to show what I’m about to explain, but that’s a bit much for this basic movement and design, so I’ll try to quickly use my words with some photos.
I must say, before I get into it, notice the quality of these images. Keep in mind they have been put through the wringer before landing here, as I’ve converted them from .heic to .jpg, Image Optimized them, and squashed the file size by an average of ~90%. That’s a TON! (If you don’t compress your images on your hard drive, you’re wasting a LOT of scarce space.)
And then they are uploaded to this site at a 20% loss in quality to also save room in the precious “Cloud.”
But they are high-quality still (I’m not talking about the composition. That’s another debate about the capability of the artist.) But the details and clarity in that I took them in a dimly-lit room holding it in my wobbly hand vs. a tripod/stand are unreal. You can tell what I had for breakfast by looking at what’s under my fingernails it’s so precise! I’m impressed!
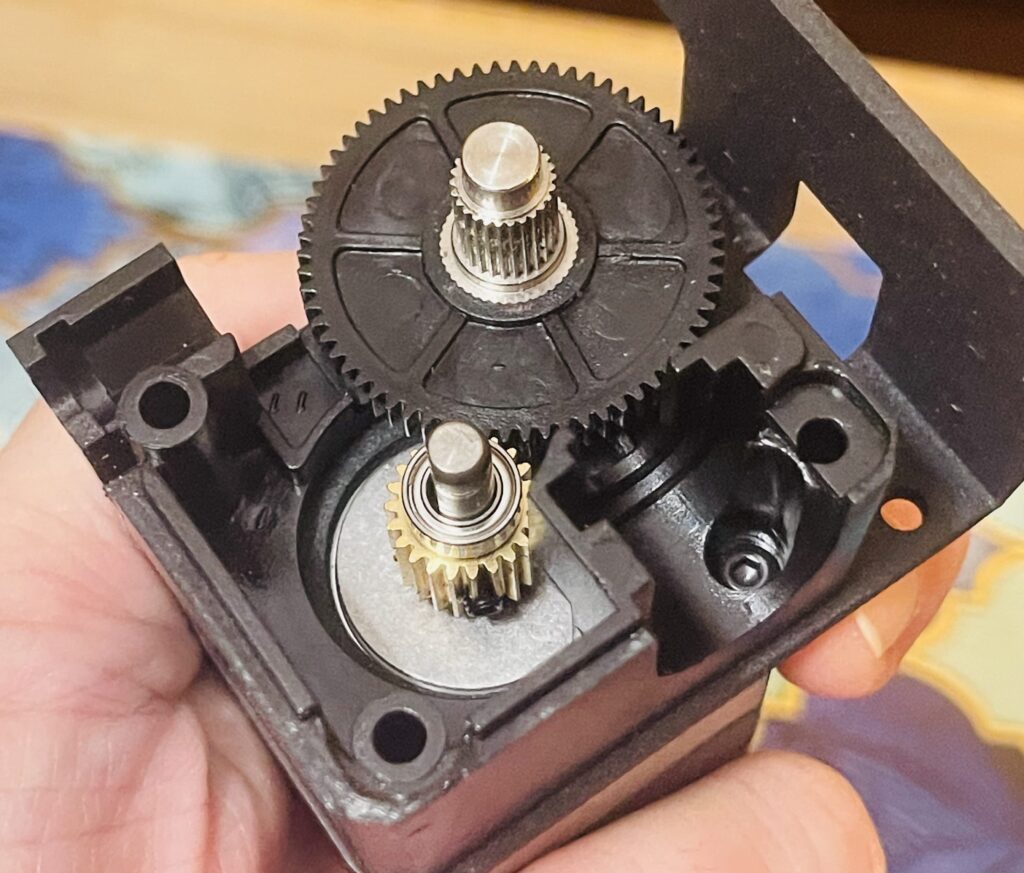
Here’s what I found under the hood of my extruder:
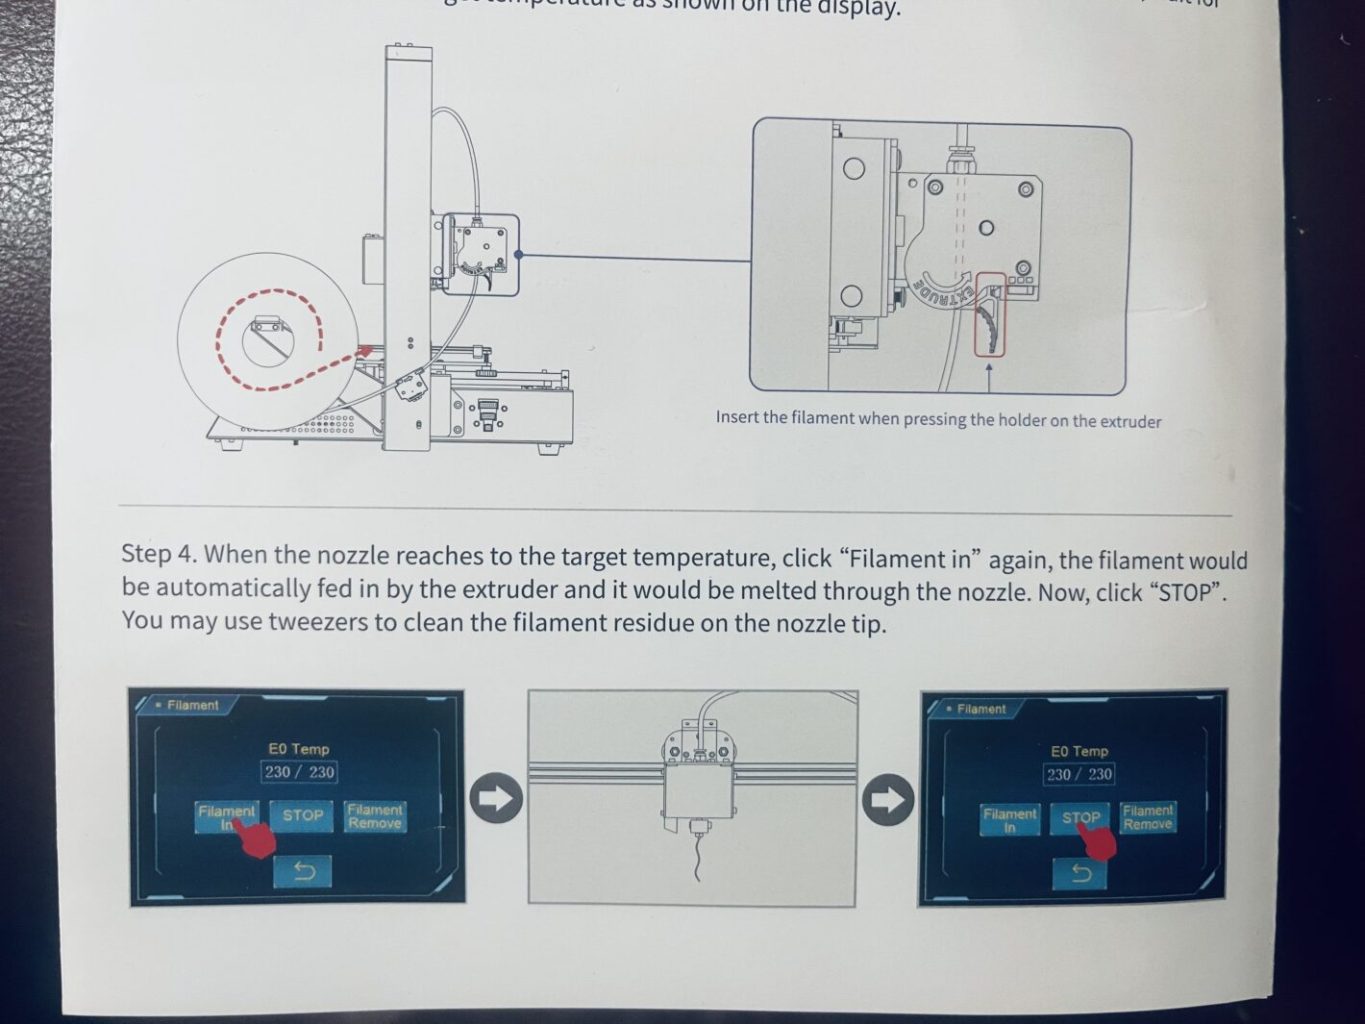
Here’s what’s in the Anycubic Mega S owner’s manual. We all read it, right? Well, this is an important part to not skip. You may not choose to do it this way, but now you can no longer feign ignorance at your trial. 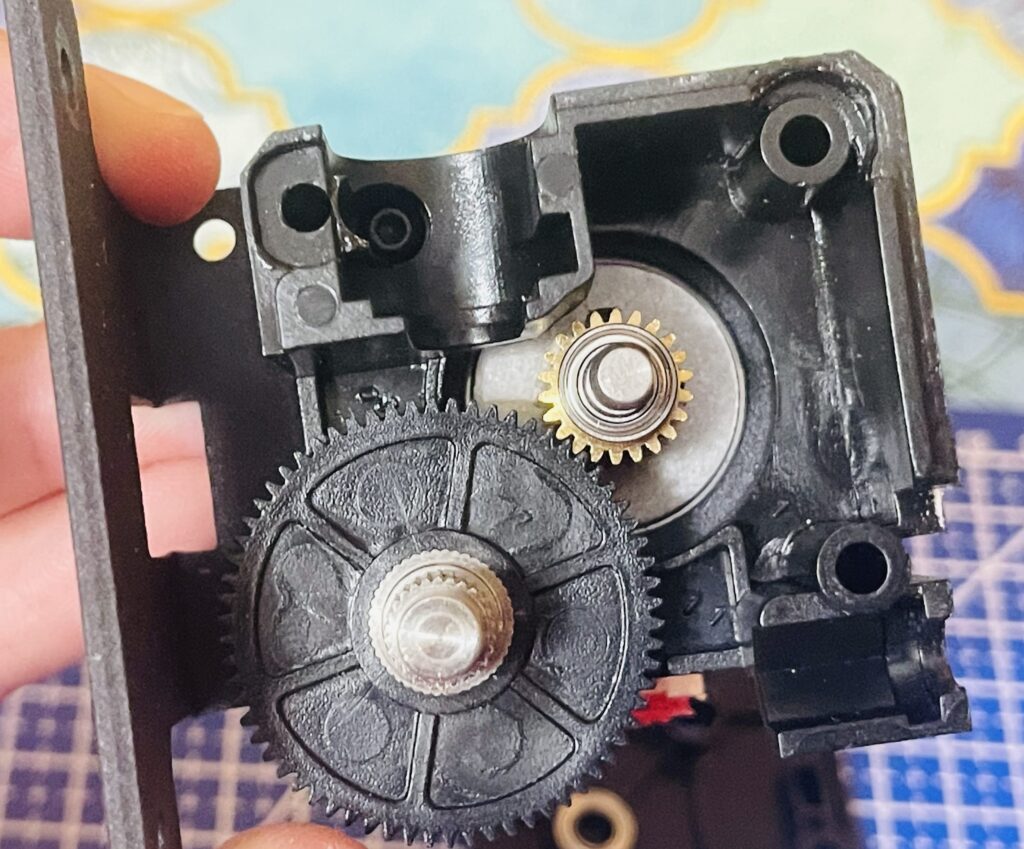
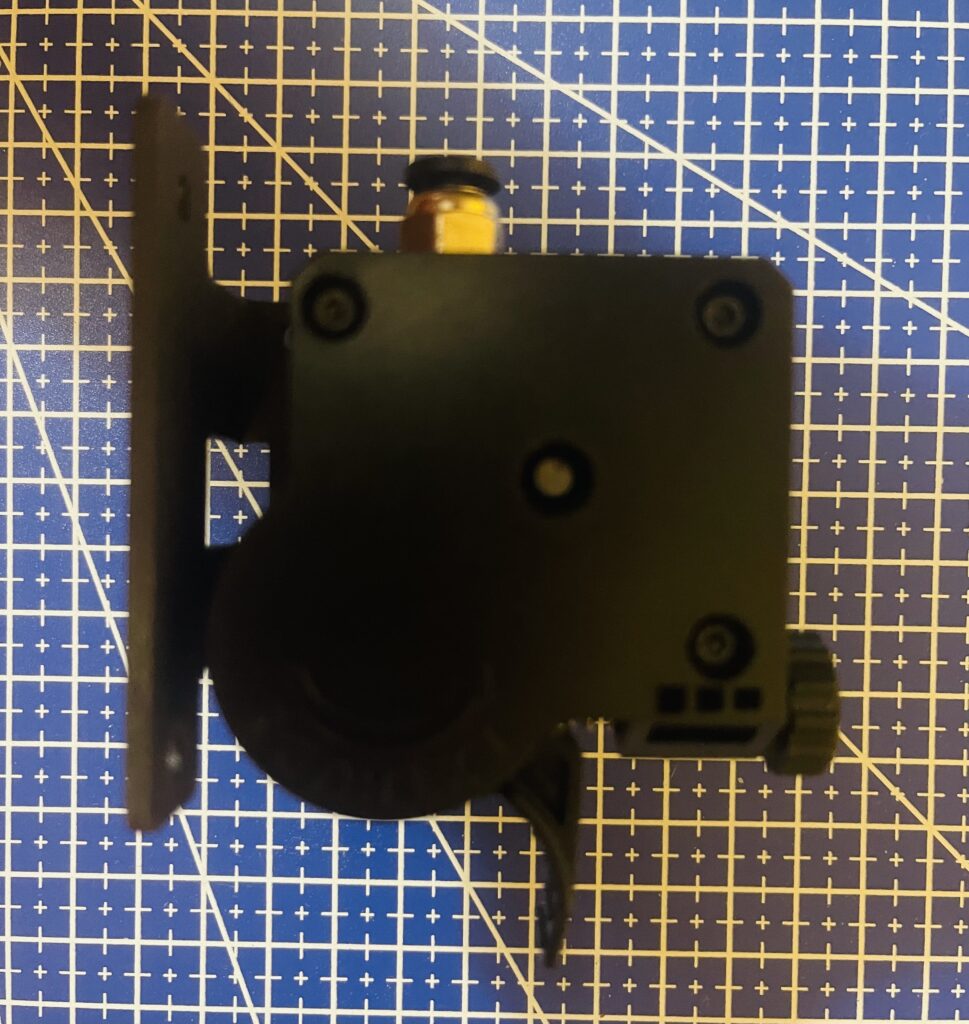
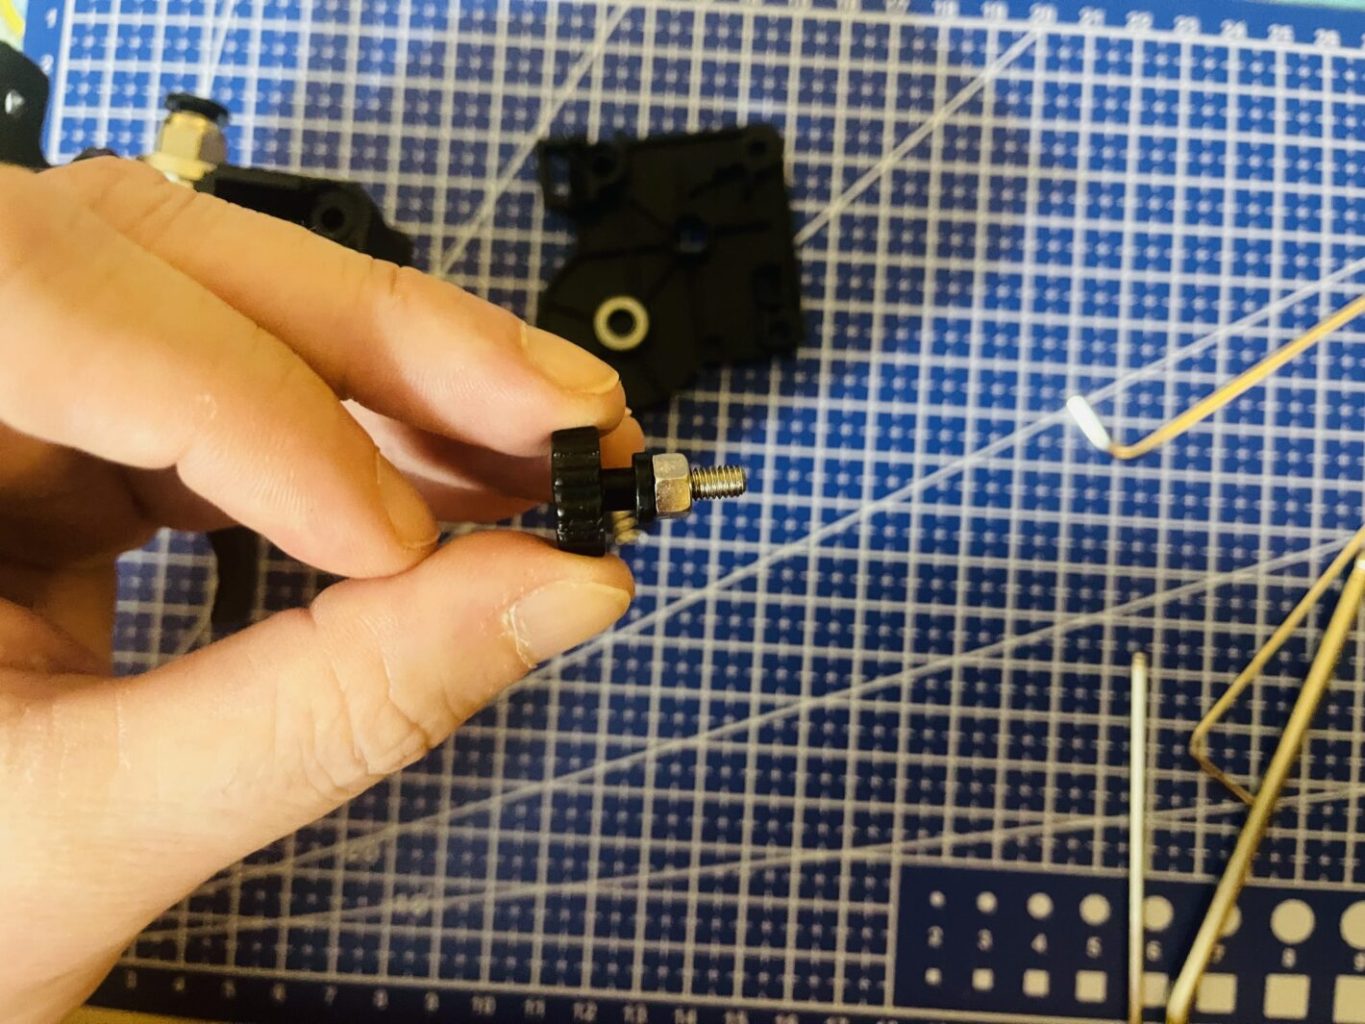
The infamous “Extruder Knob” 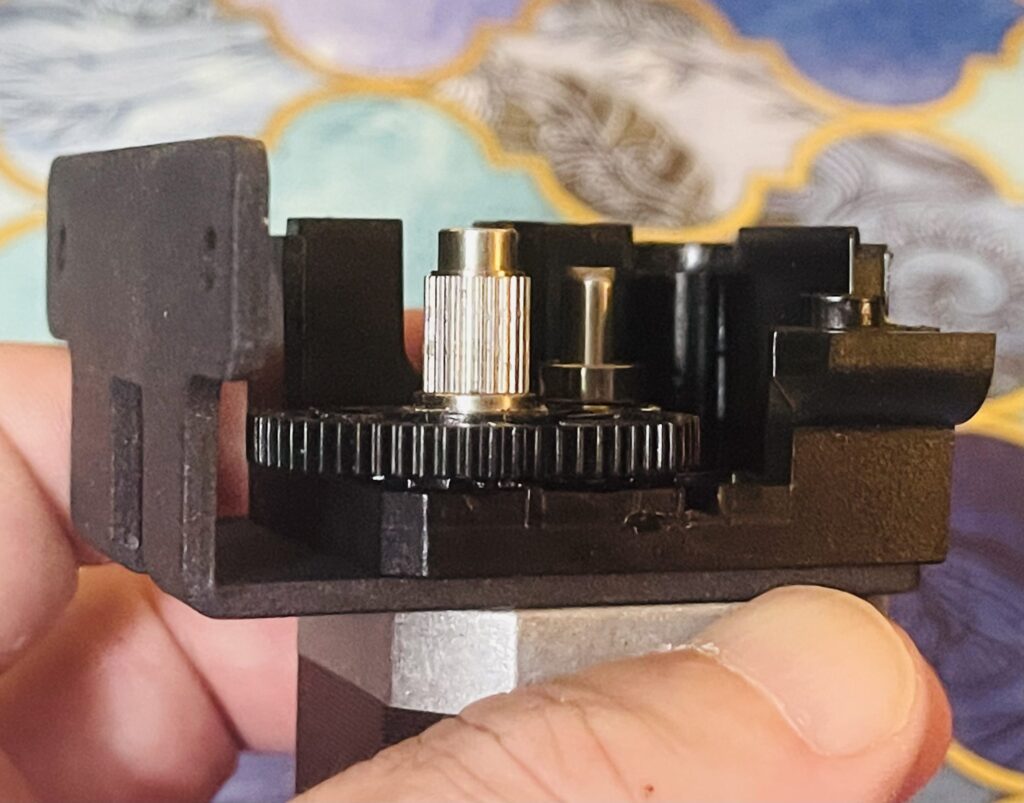
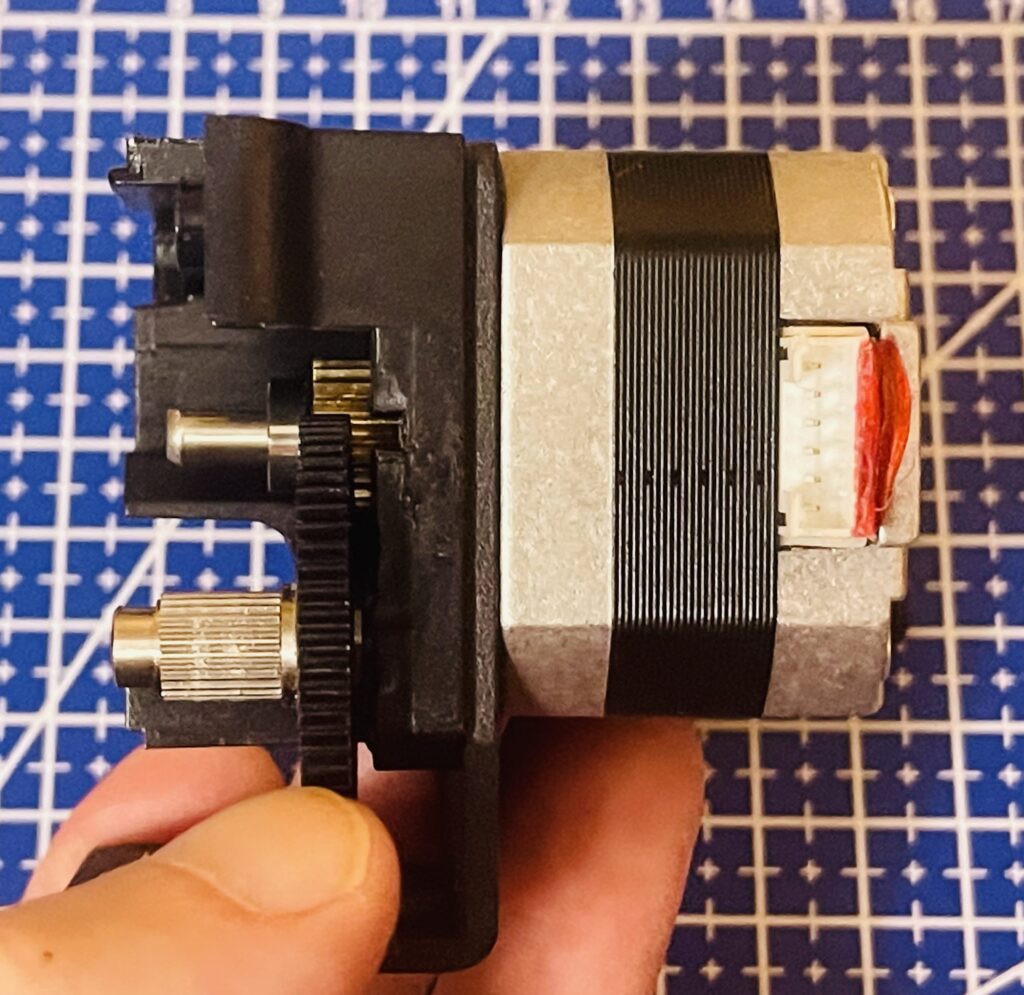
I’m just a motor. 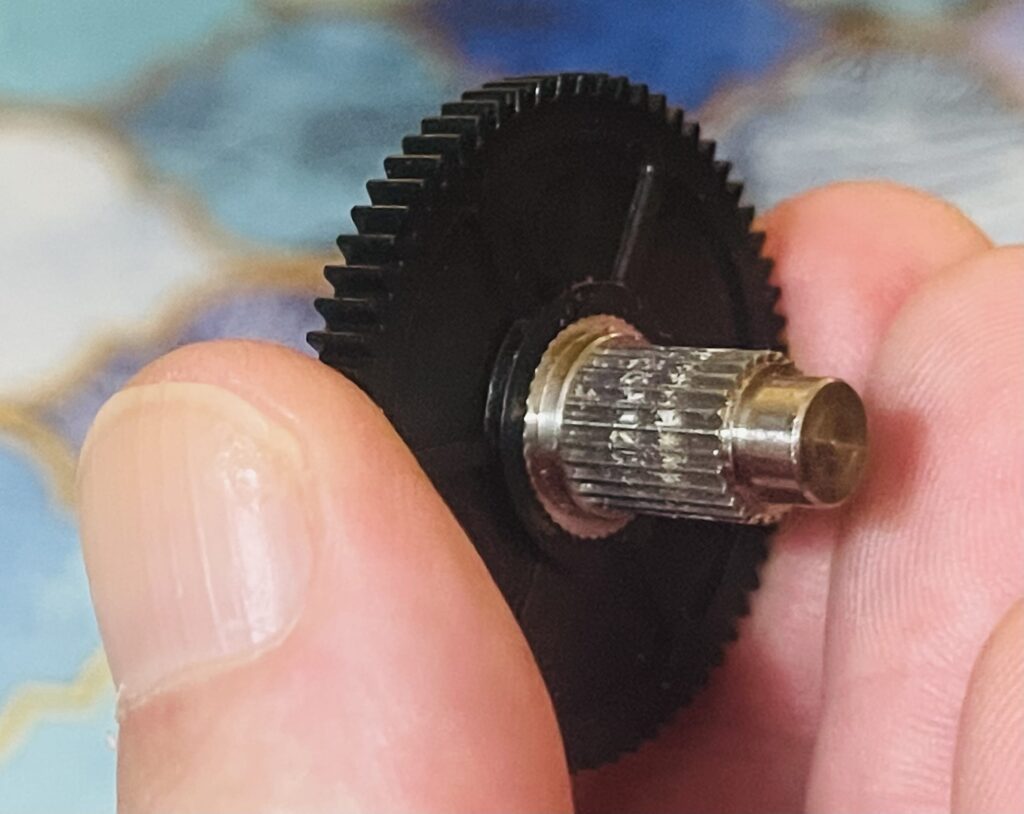
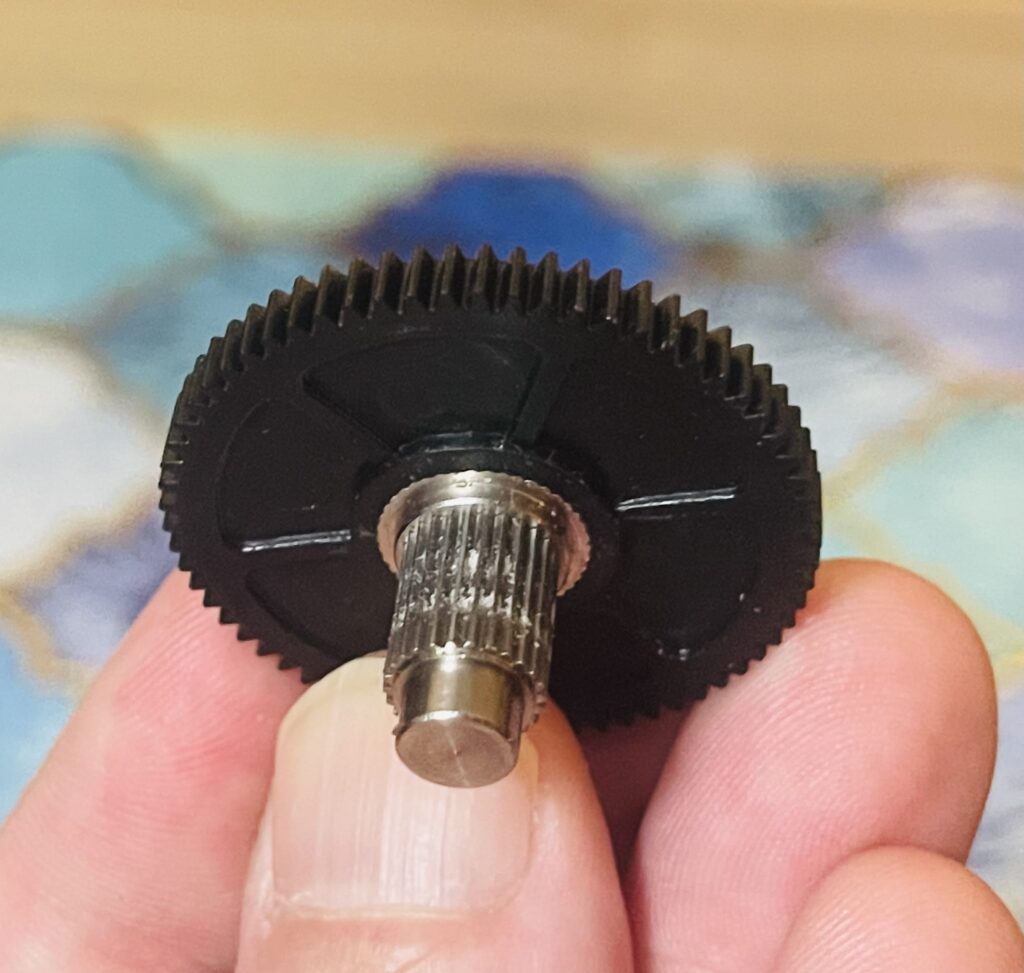
You can see wear on this gear which is surprising, as little as I used it. 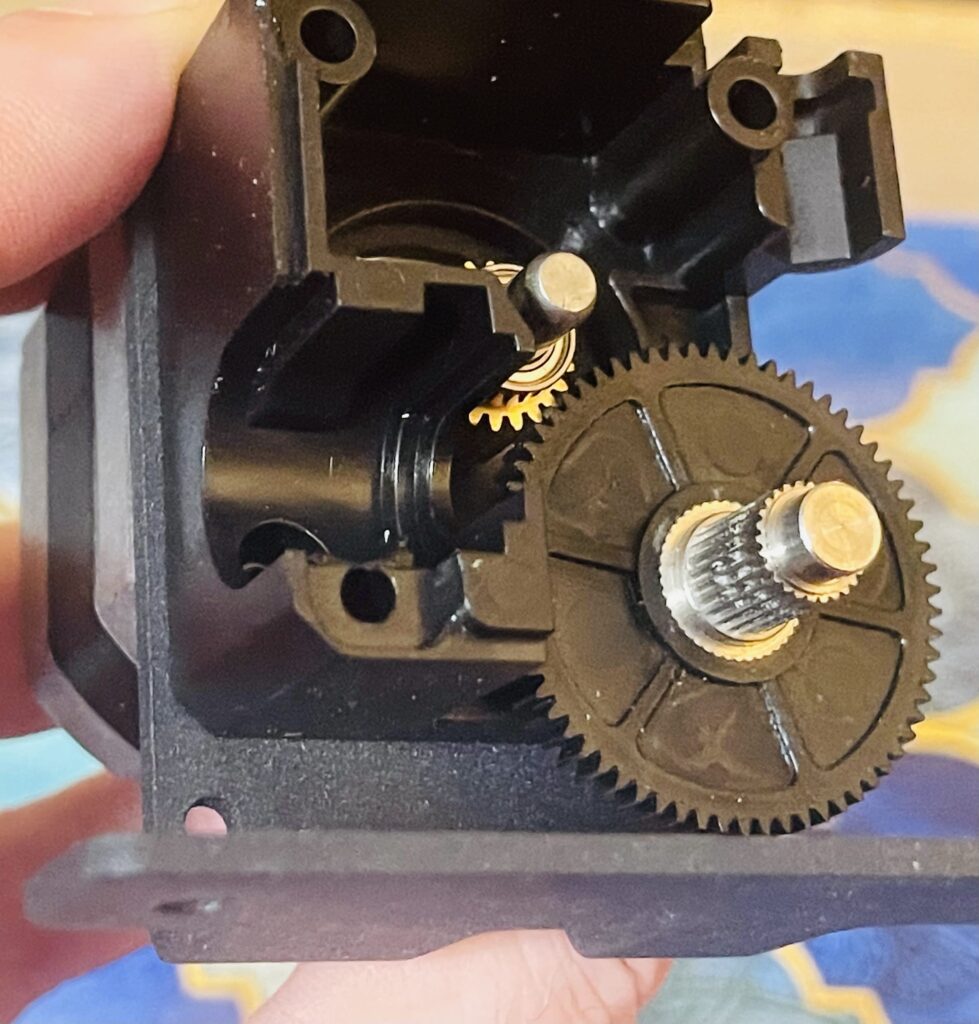
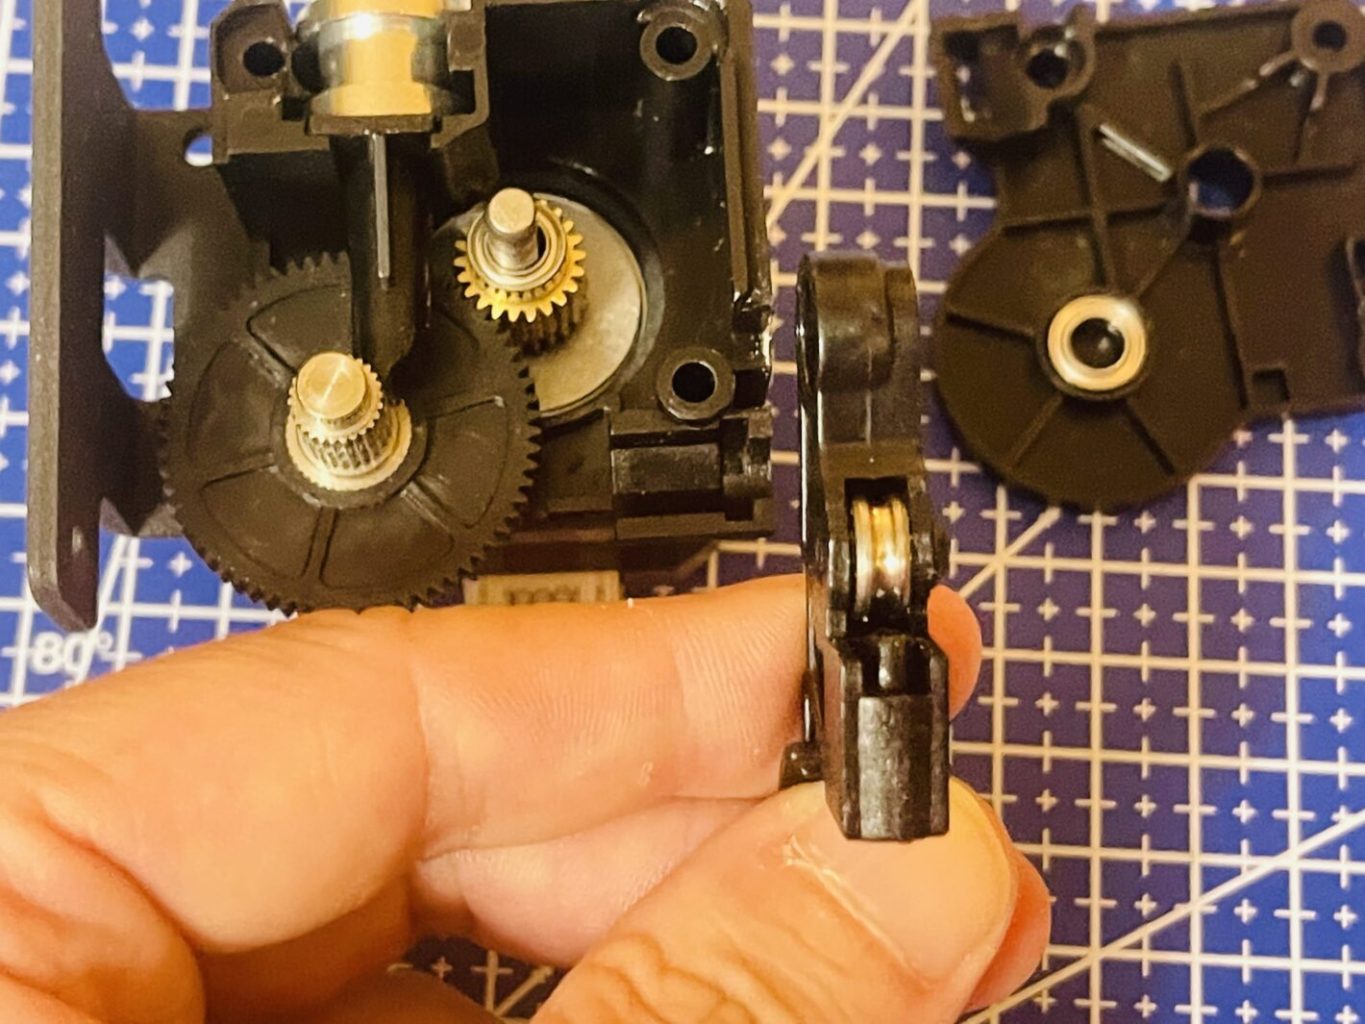
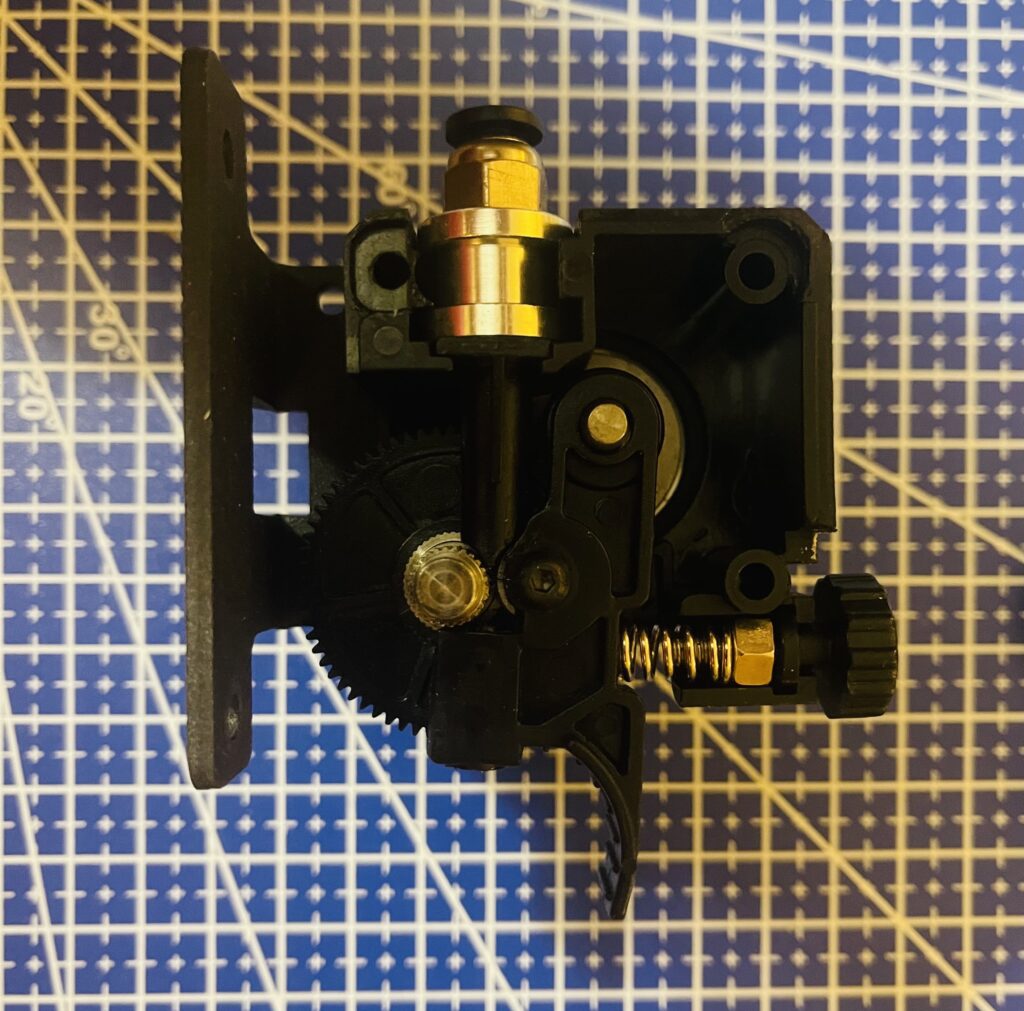
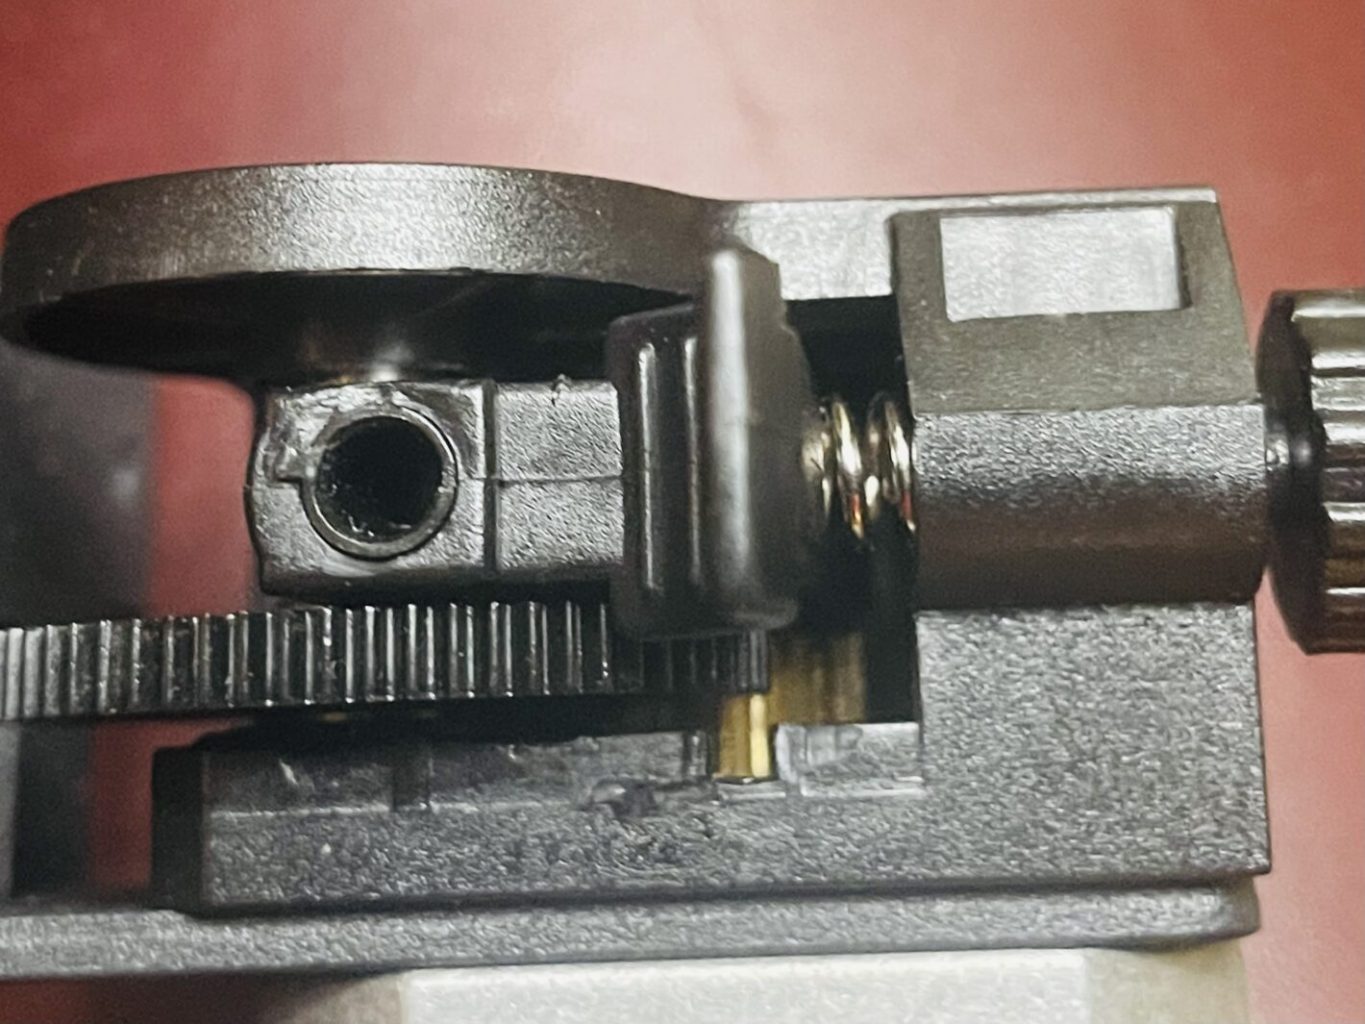
Notice the concave roller in the trigger handle 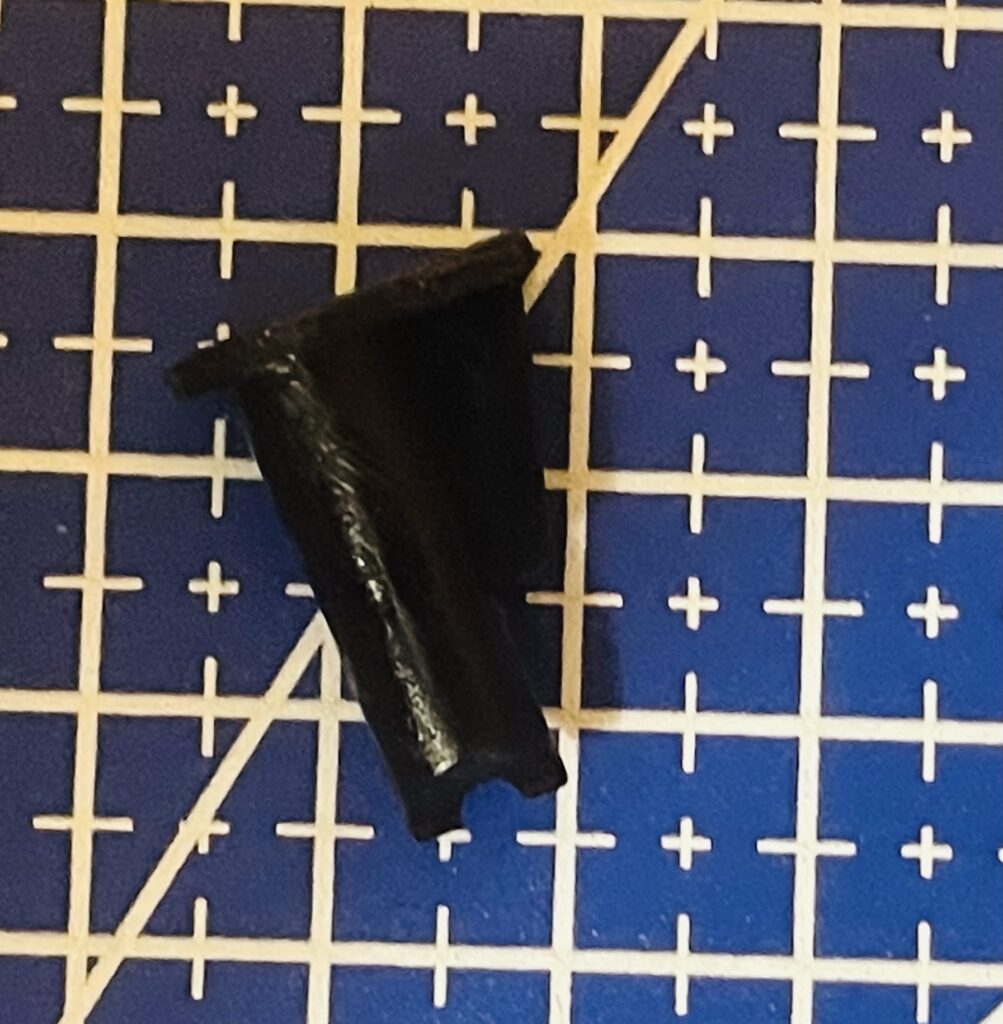
One side has that flap. Remember that. 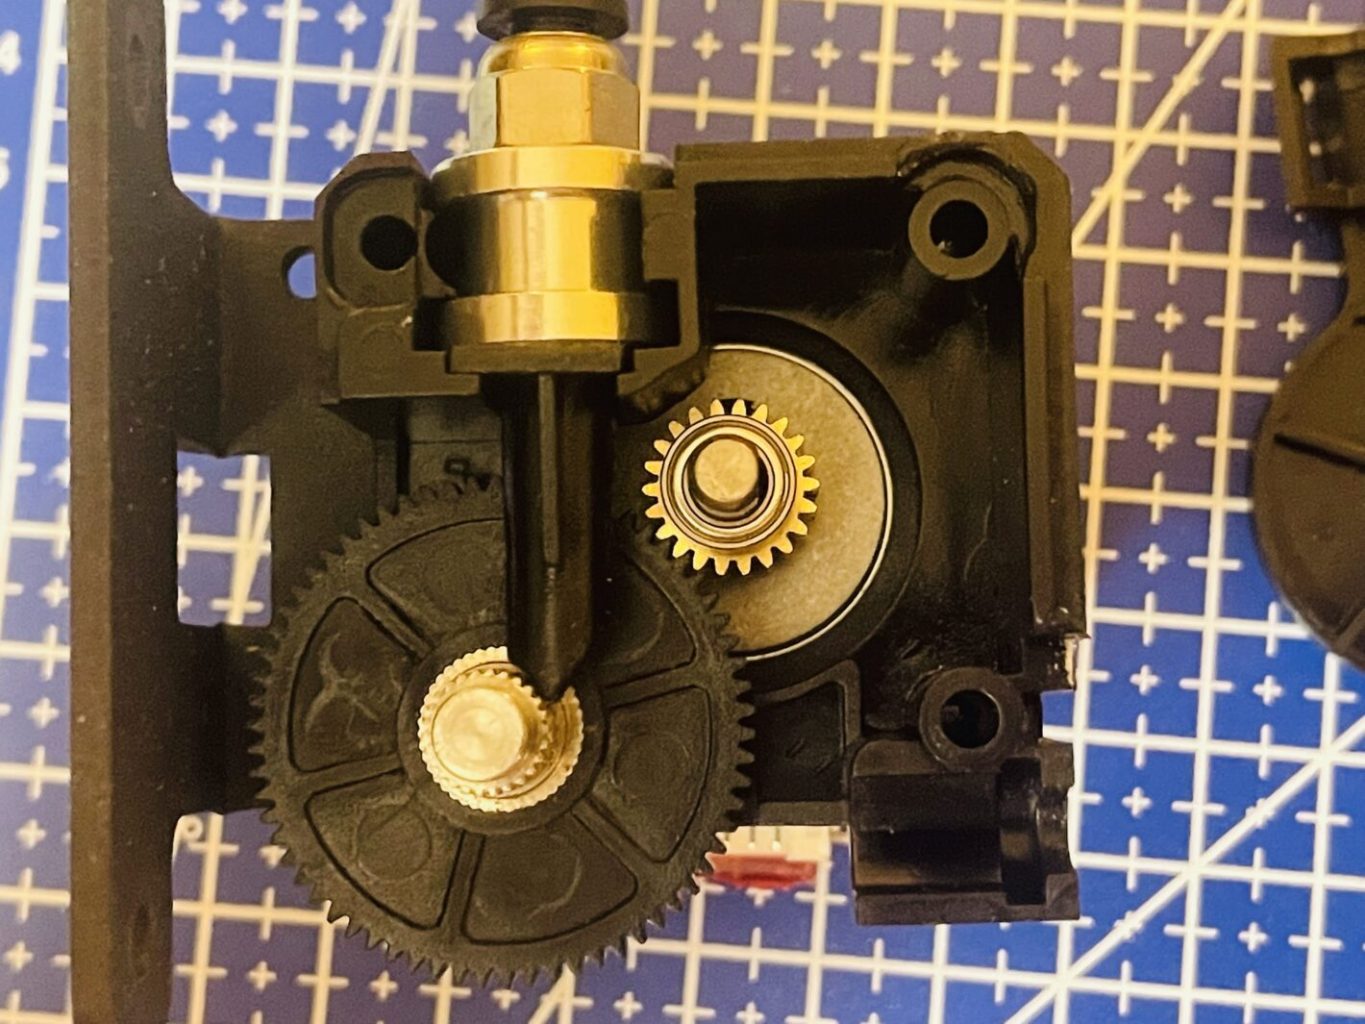
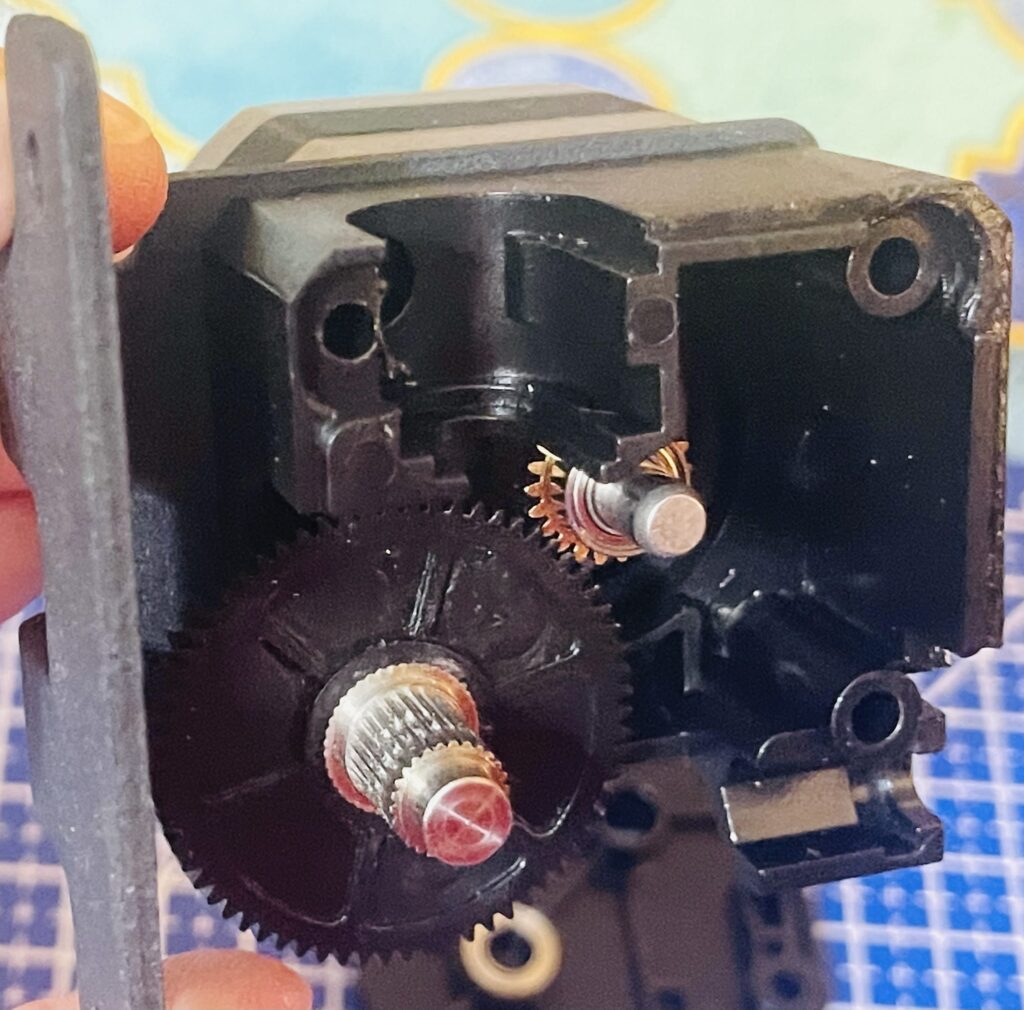
Notice the plastic black funnel hanging down from the fiting and to the lower gear. That’s an important, and tricky part. 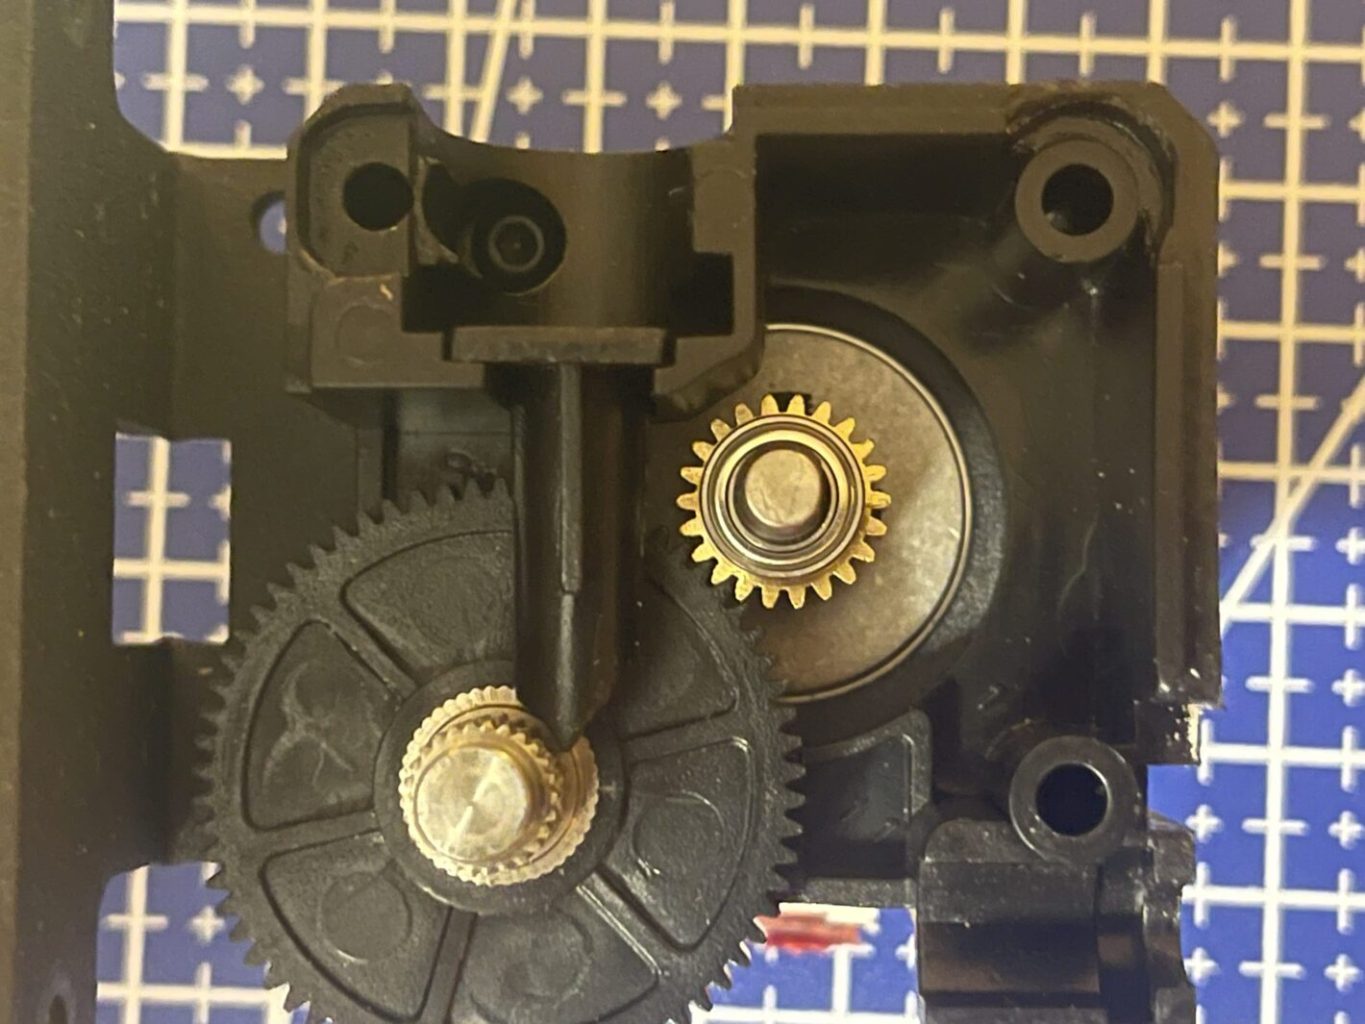
Take note of how the diverting funnel is inserted, again. It comes out easily, but can go back in in different directions. Study the right one. 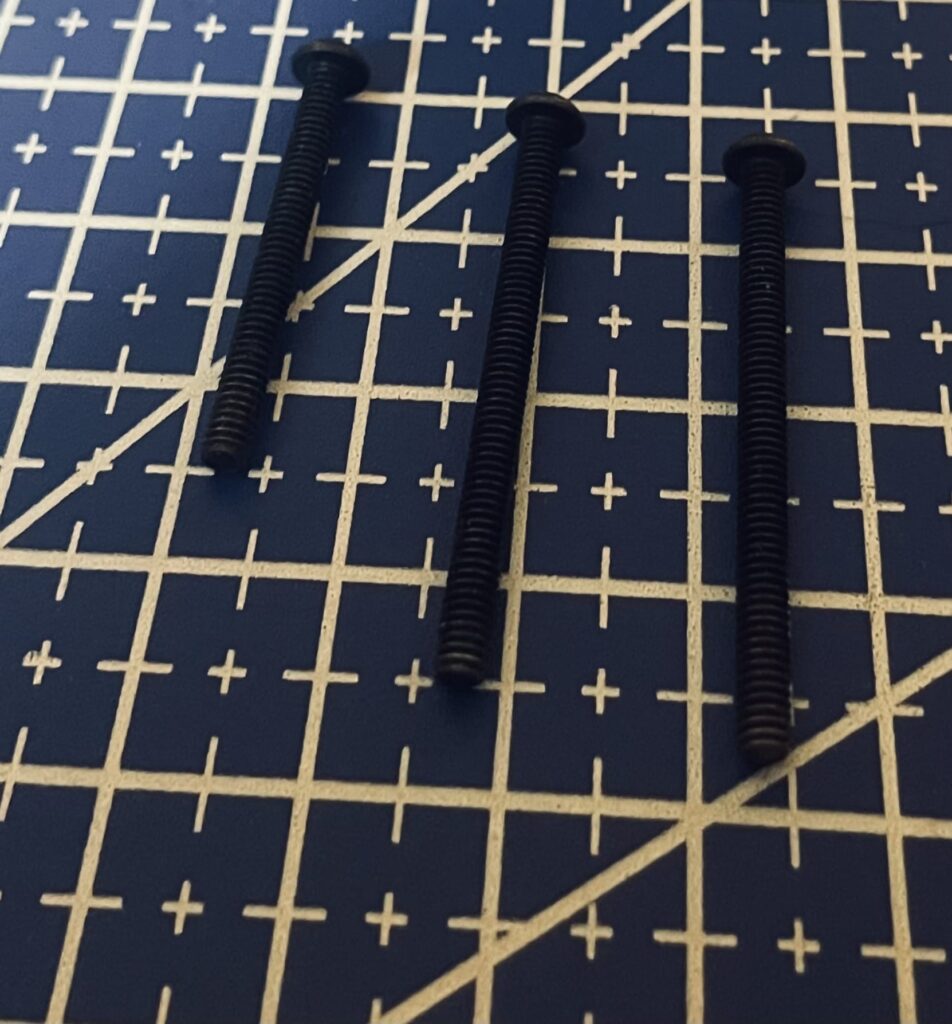
The 3 screws holding on the extruder cover are different lengths. 1 is shorter. Remember that. More importantly, remember which hole takes the shortest.
The filament comes in through the hole in the bottom guide, which should, in my case, have a collar that fits in the hole to reduce friction and for more precise guidance. It’s missing in my old extruder, I notice.
The filament goes through the hole, and hits a gear, moving in a clockwise, I believe, fashion. That gear directs the filament to be “pinched” by another awaiting gear just off to the side.
What makes sure the filament always goes to the right side and be grabbed by the other gear?
Another hole above the opening that is in the trigger you pull back to clear the above gears and guide your incoming filament. Ah-ha!
And there’s a spring that pushes the trigger back into position, and also helps adjust where that hole is above the opening but below the gears. See where I’m going? It SKEWS the filament to put more or less tension on it as well. Small adjustments, but that is what 3d printing seems to be all about: Fine controls. For good or bad, depending on your personality and patience.
I discovered that if you have too much tension, you won’t be able to extrude any filament. It also is stressing out the gears and putting undue wear and tear on your equipment and filament. You can SEE where the filament was being stressed heading through this geary, twisty area of the journey. Check it out (I’m no Martin Scorcese):
And, as with a lot of this, I’m learning, experiencing, and trying/failing is the only/best way to keep things optimal. You need to learn how to adjust this setting on the fly, basically, as I’m doing with leveling my bed on a live print by eye. After roughly leveling it as best I can with feeler a feeler gauge @ 0.25mm and proceed that way. Many people start doing it this way. Whatever works best.
TIME WARP!
I put that separator there because as was typing this stuff I have about 100 other projects going on. And I go back and forth, juggling and shifting and constantly re-evaluating priorities and working on what needs the most attention at the moment. That’s the secret to getting stuff done when you have a lot of stuff to get done.
I’ve been futzing with this printer all day while mopping, cleaning, applying for jobs, and writing legal briefs and battling dragons, and finally decided to make an executive decision. Just replace the entire extruder AND hotend. The whole shebang. Myself. Now. With what I have on hand. In a short time. The only time you’ll ever get it good, fast, and cheap is doing it yourself, for yourself, or for a six-year-old girl named Cecelia.
In the end, what I did was replace the hotend and rebuild the extruder from salvaged parts from extruder #1. Total cost to me: $0.
And it’s now printing like the day I took it out of the box. Which I dread having to get back into.
Recently I’ve learned evidence is very important and valuable. So here’s some:
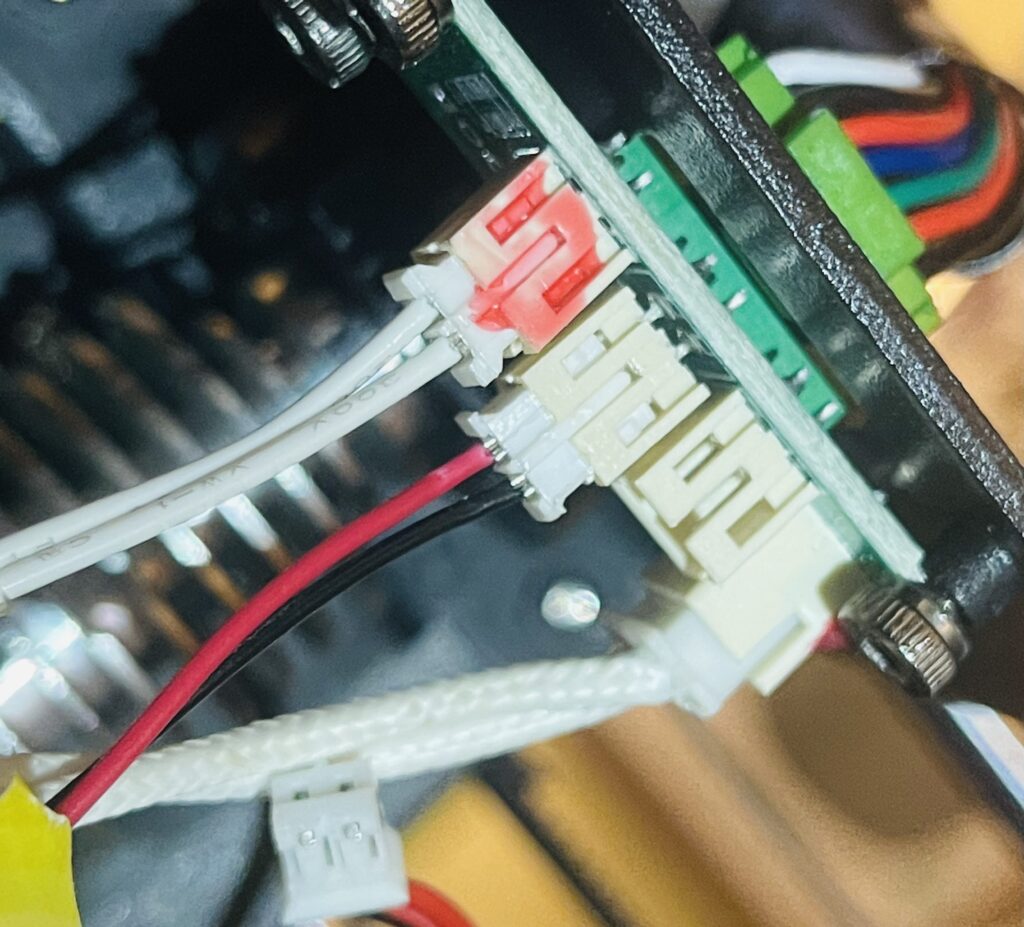
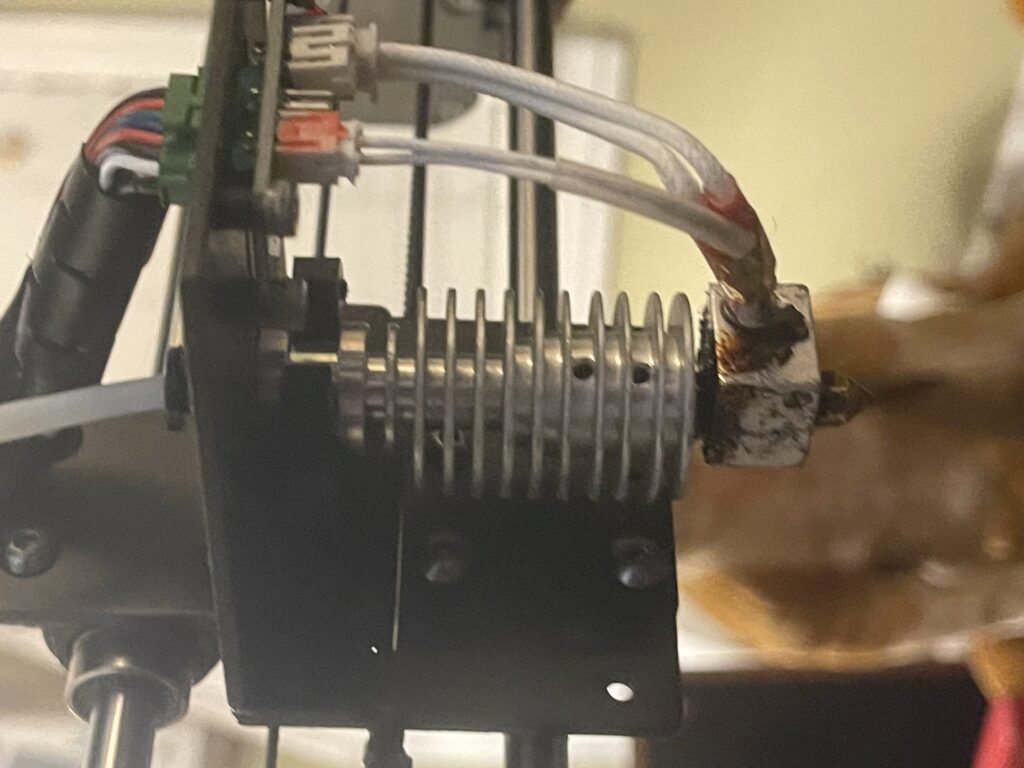
Delicate electronic pins 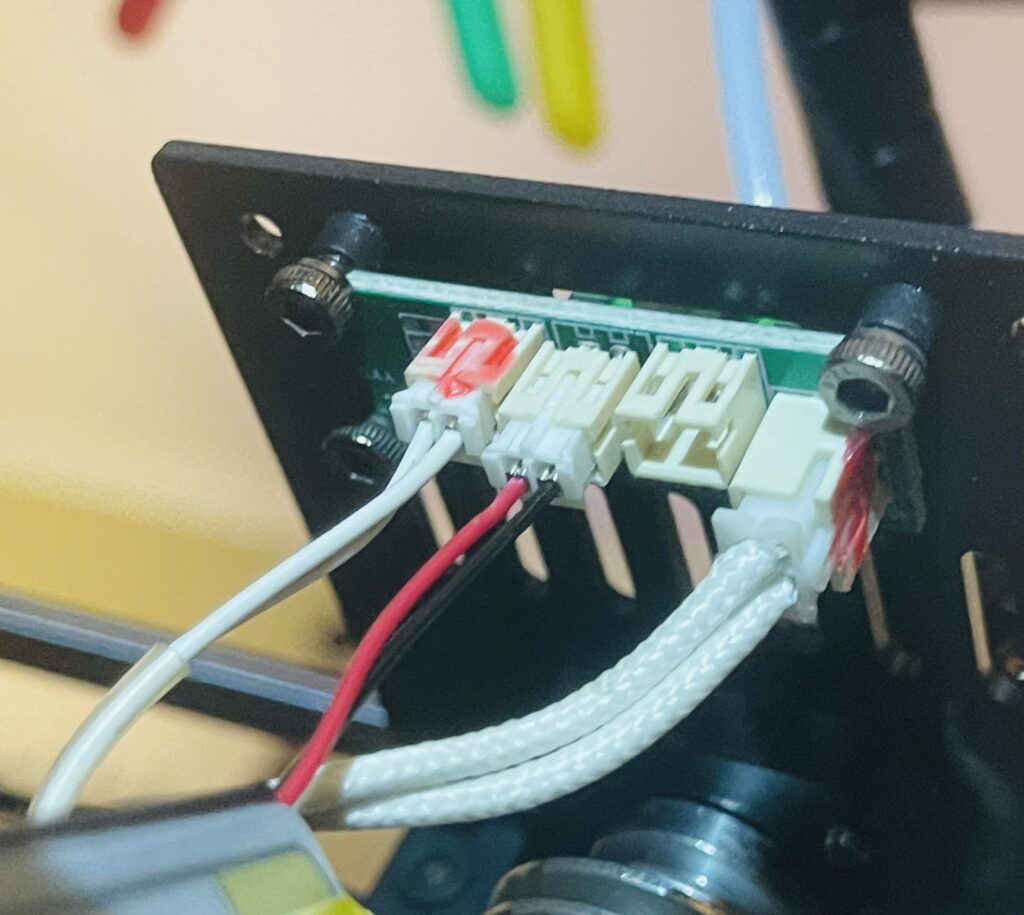
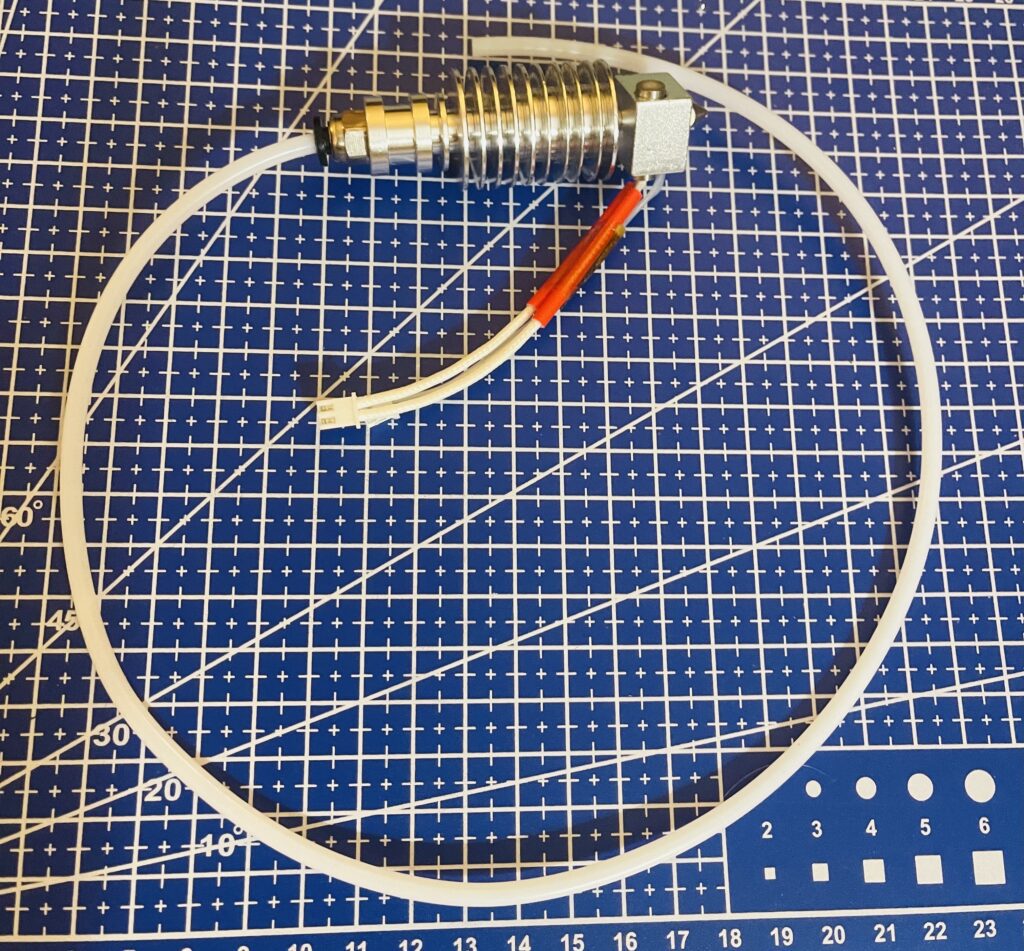
The new Extruder 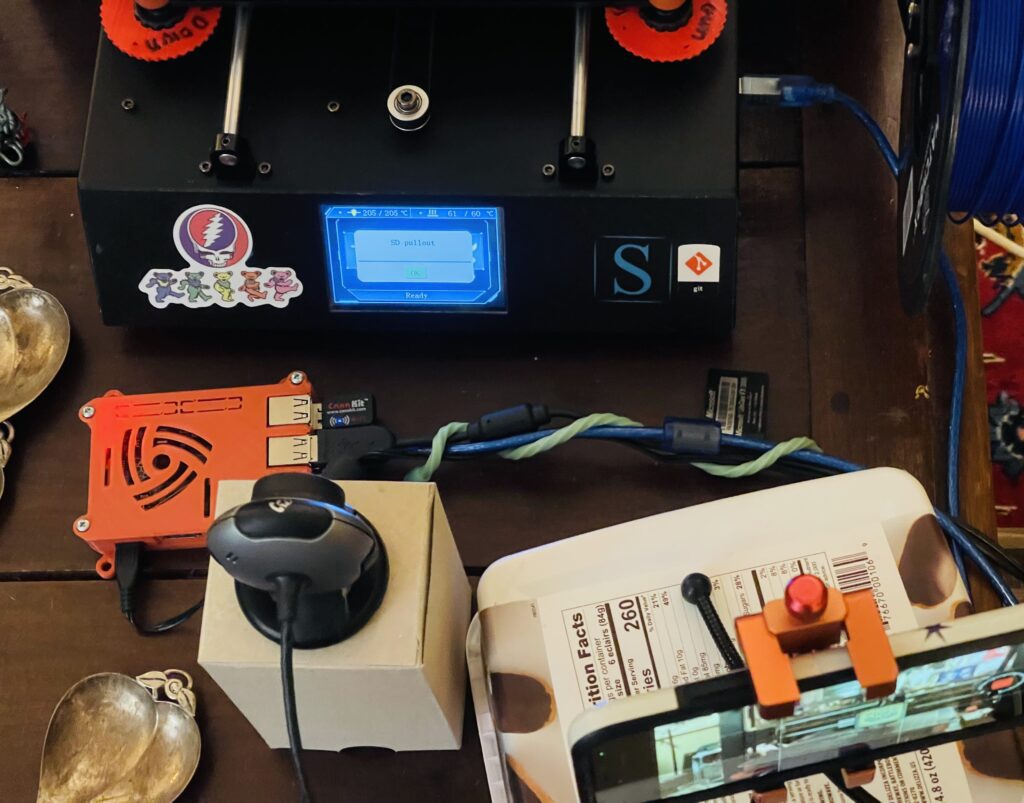
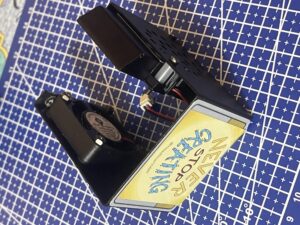
My lame video setup, which includes my Raspberry Pi 2 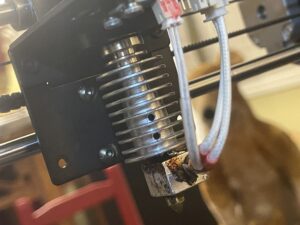
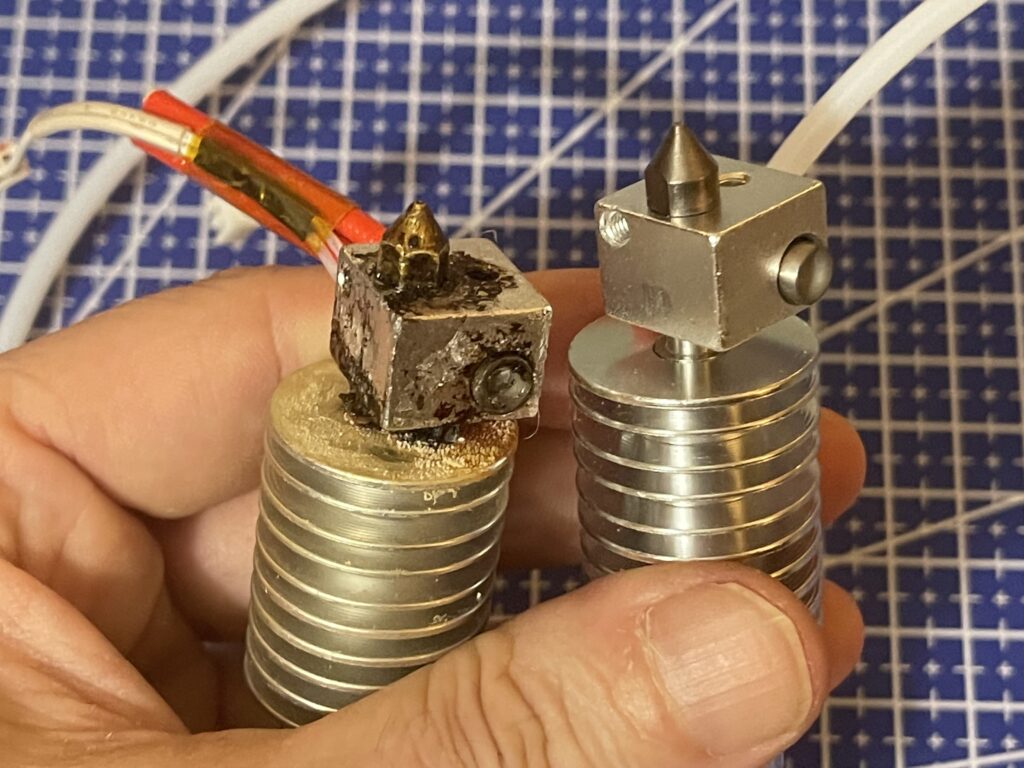
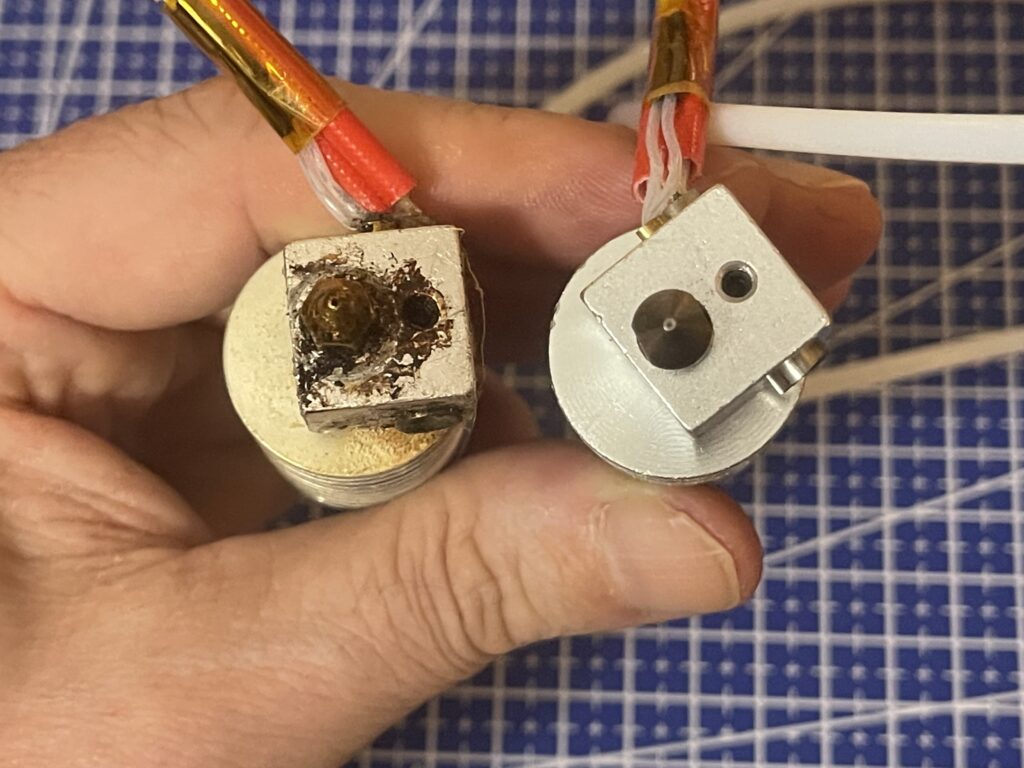
Guess which is old and which is new? Several new nozzles have been on the old. 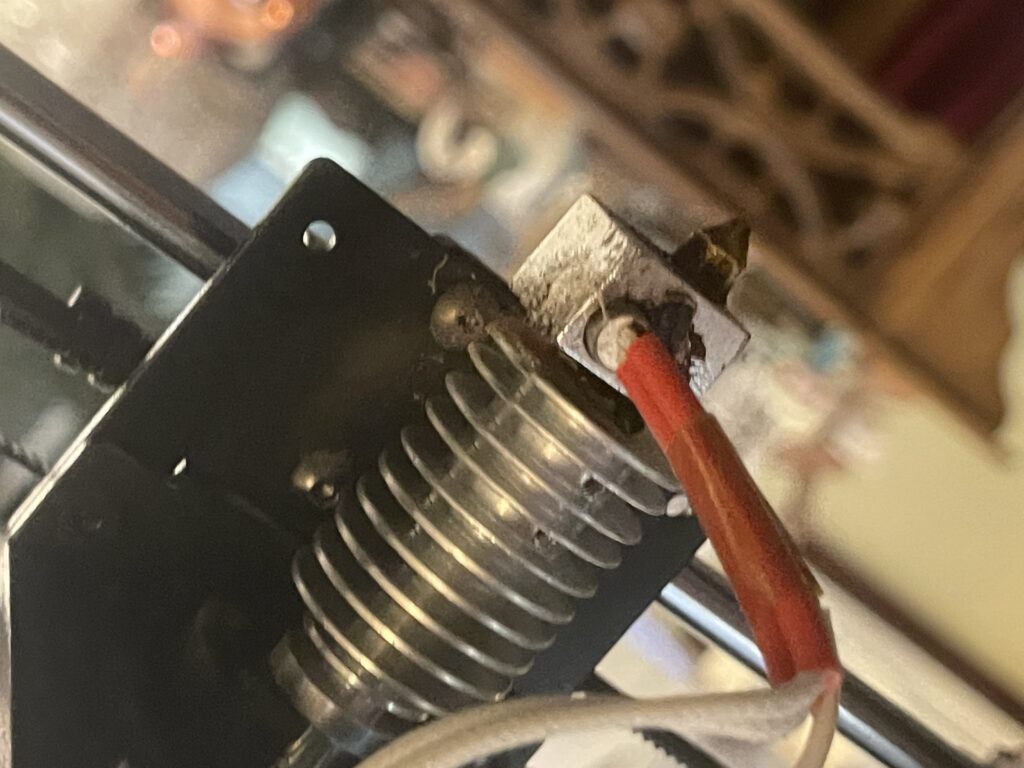
The stock fans on this ar eindeed puny. But how mch HP do you really need, here? 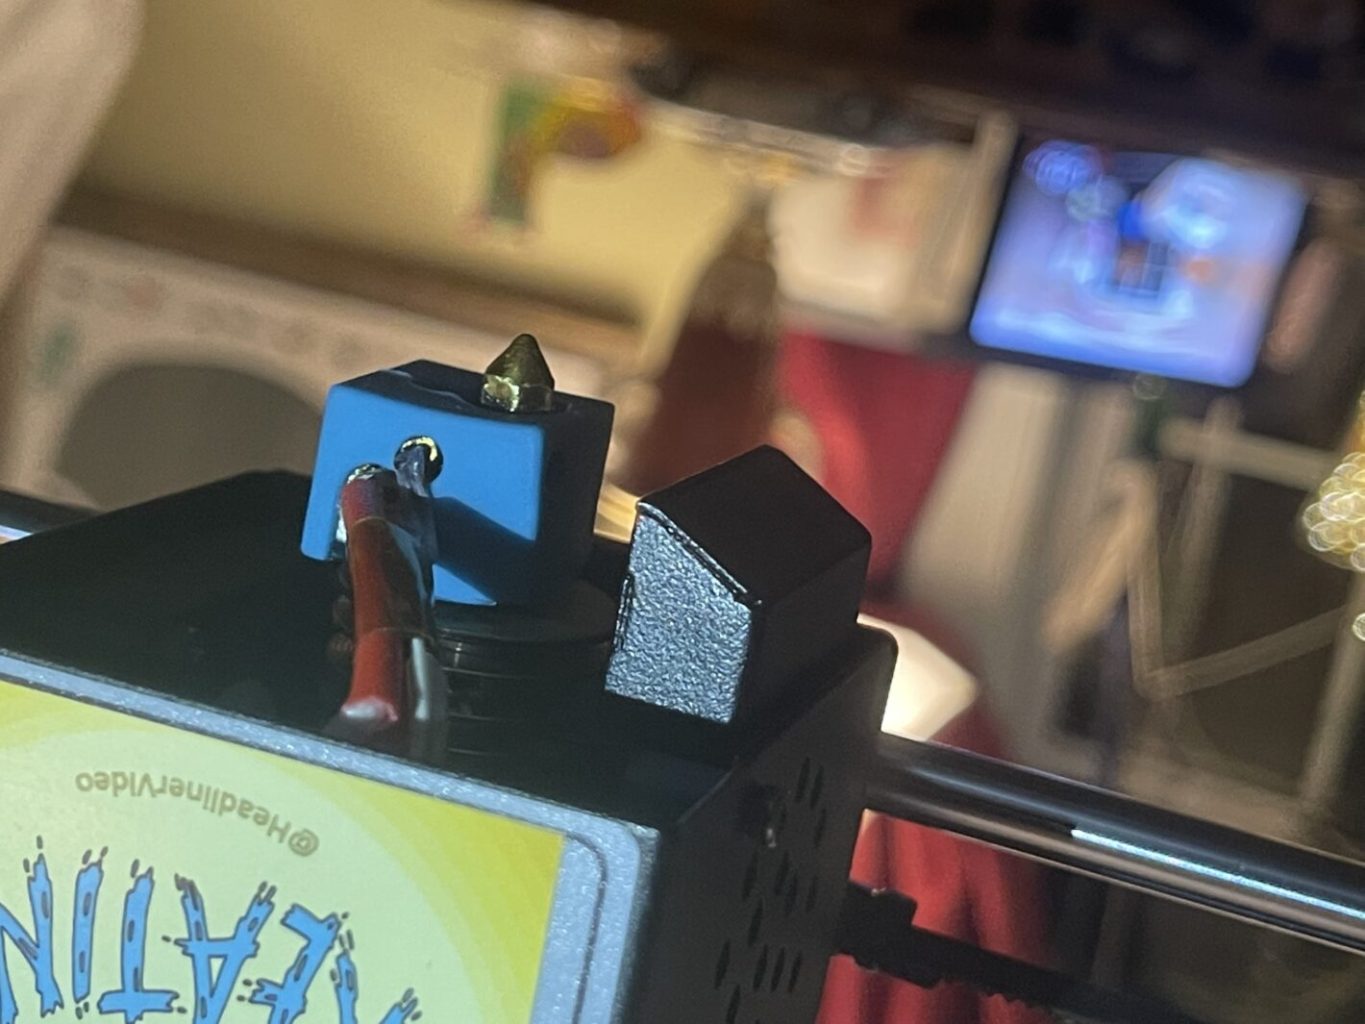
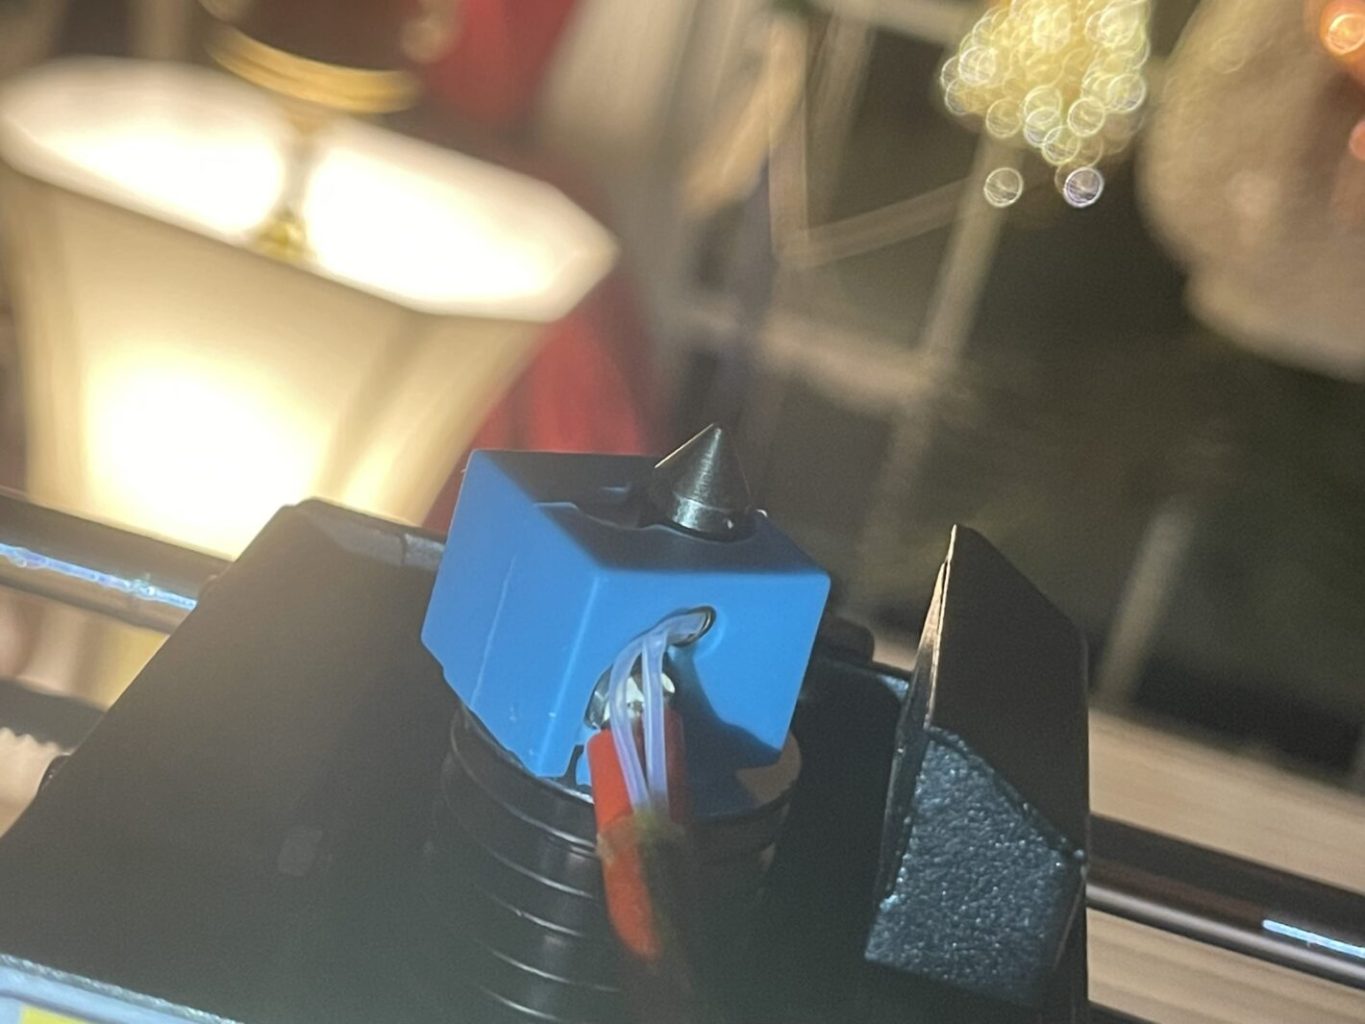
New silicone cover. Blue, for whatever reason. Should be red, because it gets HOT around round there. 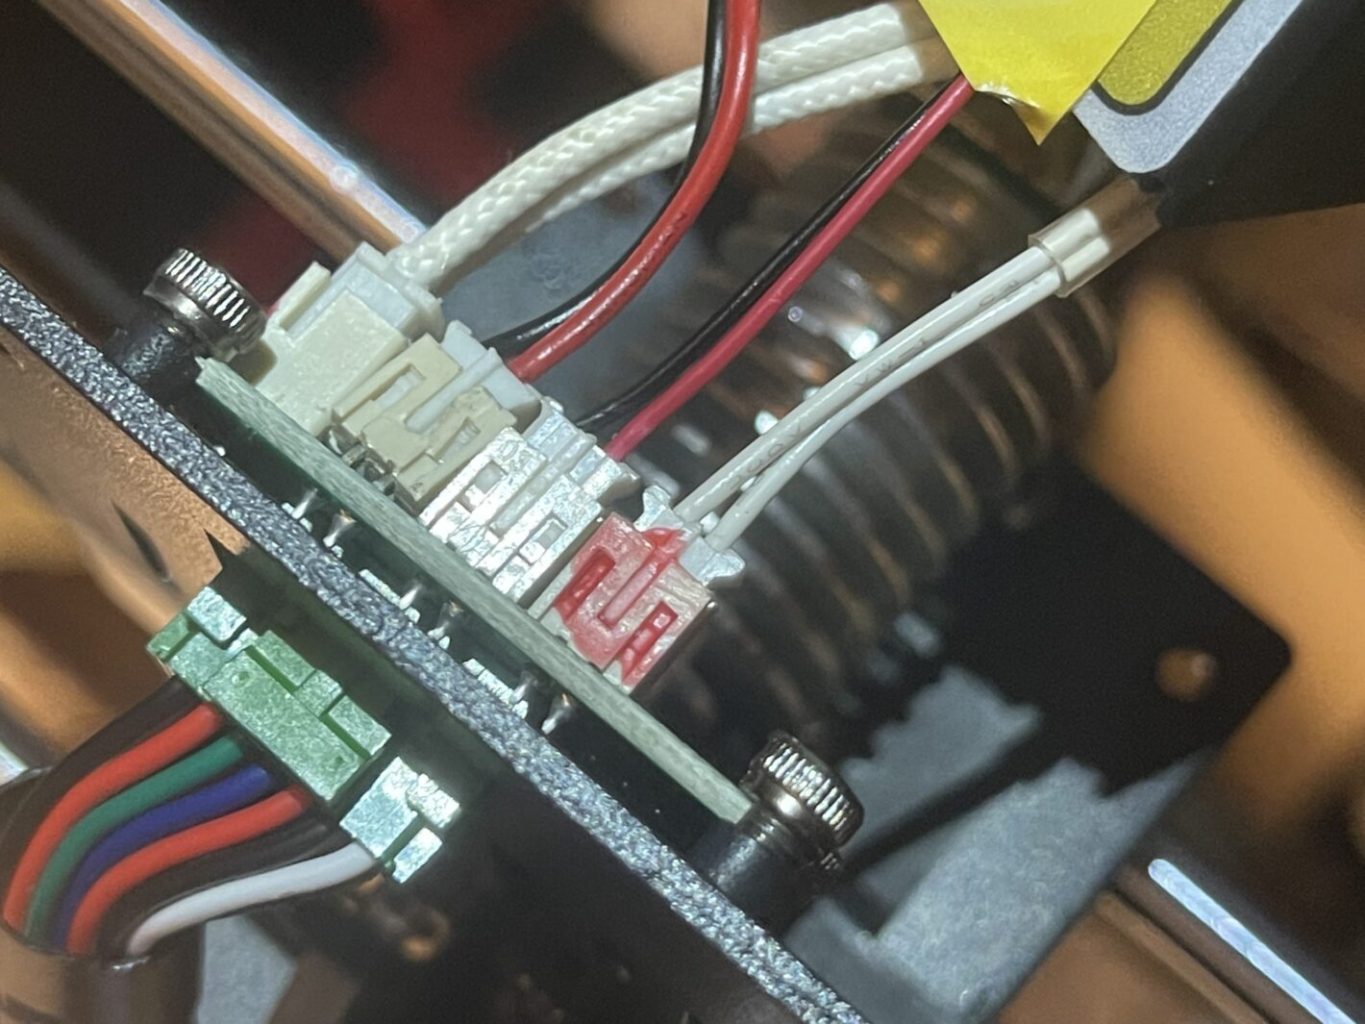
Be CAREFUL with these connectors. Which admittedly is nea rimpossible because they are stuck on there with superglue. But do your best and Godspeed. 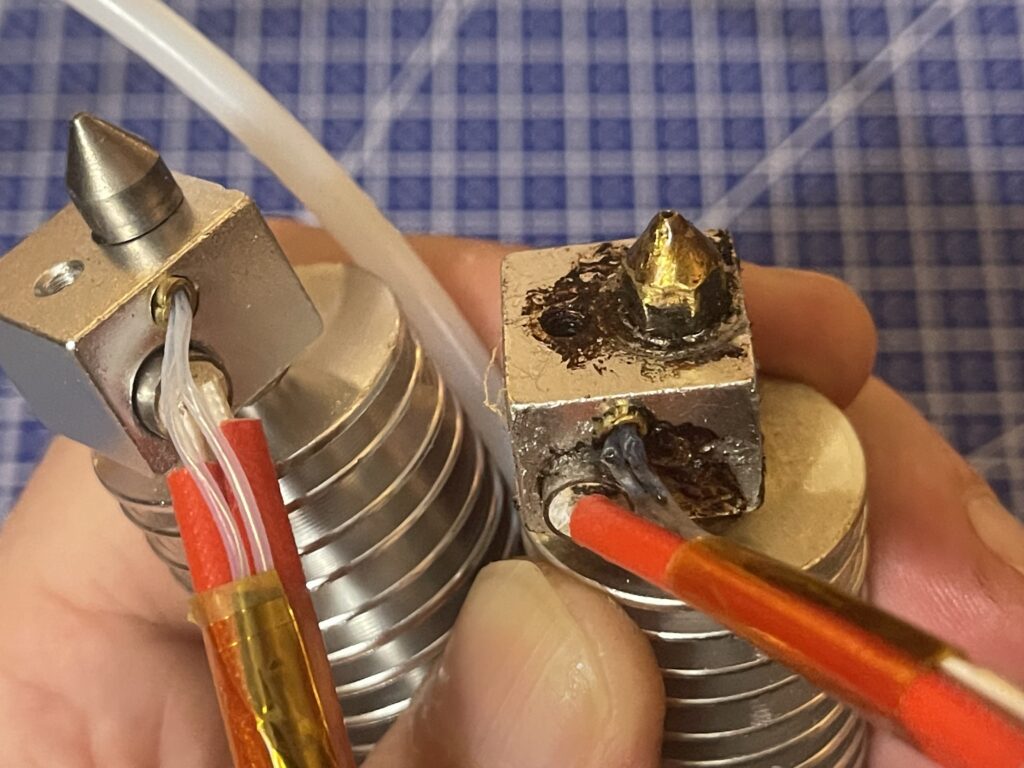
I don’t know what this was supposed to demonstrate. Other than inept photography. 
What you would see if you were being 3D printed. 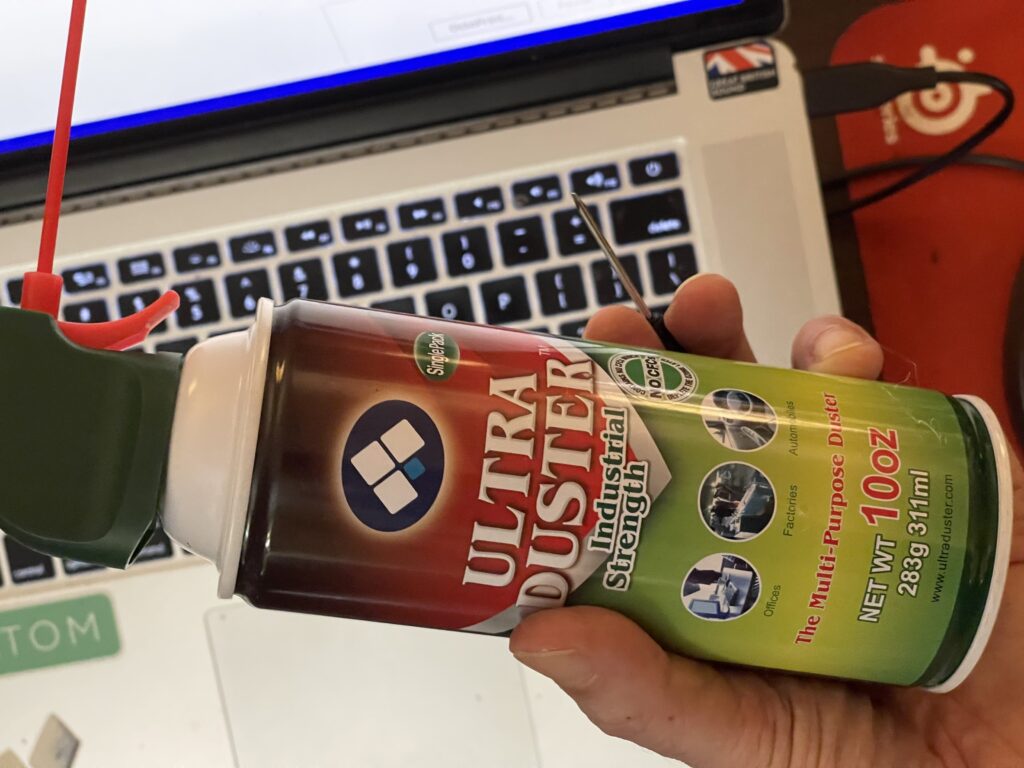
I use this to get a lot of dust, particulates, little pieces of anything that lands in or near the printer. You could build microchips on this thing.
SO. Here we are again. After now REPLACING the WHOLE EXTRUDER, like an F1 pit crew boss (I’ve done it already and it’s a breeze once you’ve done it once. A lot is with these machines. They’re simple in general design, yet complex in operation. Or at least finicky.)
Time for the tests.
I run “Filament In.” No dice. Which is hipster slang for “It’s not working as expected.”
So I’m turning to the Facebook group for help and submitting a ticket to Anycubic. I’m out of ideas.