
After having a multimeter somewhere in my possession since I was born, I decided this weekend to learn how to use one properly. I’m no electrical engineer, by a mile. If I were to become an engineer, which is a profession I would have excelled in had I known it was an option in college – (thanks to everyone for helping with that!) – I would have been a mechanical engineer. I’ve ALWAYS been fascinated by learning how things work. Not just in the natural physical world, but the design of products and man-made items as well. Anything that ever involved some sort of system, really. It’s why I like web development and project management. I wish I had taken more physics in college, but that would have been tough as an English major. Although I got a minor in business, which isn’t THAT different. Rules, laws, equations, data, statistics, algorithms, etc… But you rarely see humanities and engineering in the same brain.
There are plenty of easy, handy uses for a multimeter around the house and car. If for no other reason, a multimeter is handy to have to just check the juice left in your batteries. Car and home batteries. (TIP: You can get some really cheap battery testers off Geek.com, Wish.com, Aliexpress(where they’re 67 cents!!!), BangGood, etc… which pays for itself in no time.) The price range for a multimer ranges from about $10US at Harbor Freight, which is like a candy store for tinkerers, to well over $500+US for a Fluke or similar which is in the electrical pros’ and billionaires’ part of the store.
From my research there only big difference I could tell between the most expensive and the cheapest is the more expensive auto-detects the range of what you’re measuring or testing. “Auto-range” is what the term is. So they save you from a few turns of a dial, and that’s it. That’s a lot for the feature, although I’m sure it’s nice and for electricians, I’m sure it saves a ton of time and headaches.
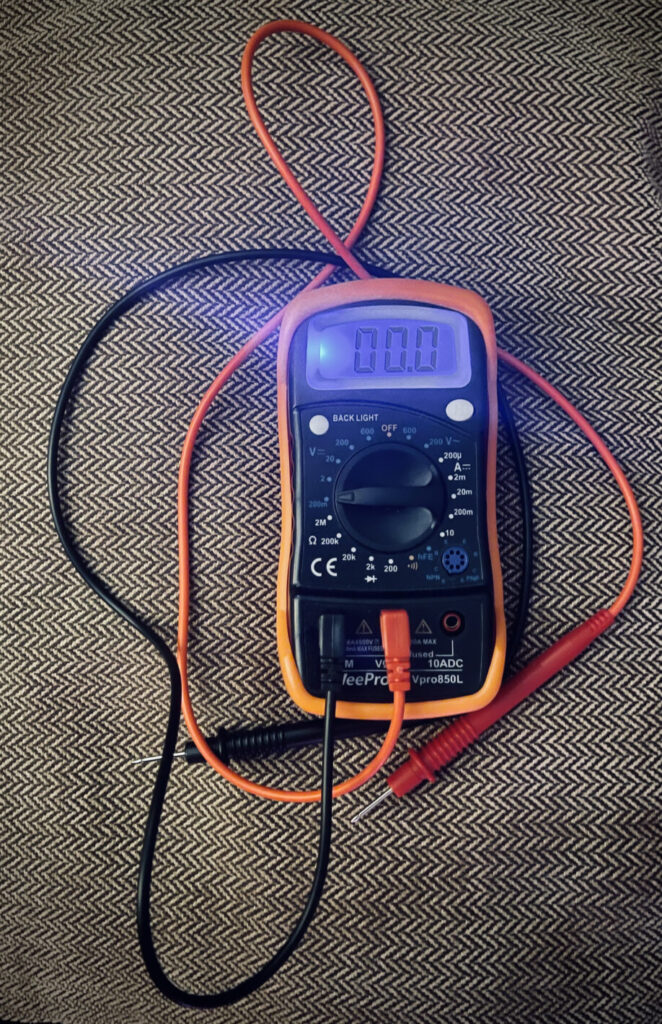
However, I wouldn’t buy nearly anything based solely on price though and these are no exception. Don’t but a $10 anything just because it’s ten bucks. That’s crazy. You still want quality and features that aren’t going to drive up the price THAT much. A backlit screen is nice, for example. A stand that pops out of the back of the case is another. Both of these help you see what you’vre doing if you don’t have any helping hands. Nothing expensive but really nice to have. For whatever it’s worth, I have a Wee Pro Vpro850l I got from Amazon and are no longer sold there. That’s a shame because it’s a great unit and was inexpensive. eBay and Facebook Marketplace would be a good place to look if interested. They’re small and light enough that shipping shouldn’t be an issue.
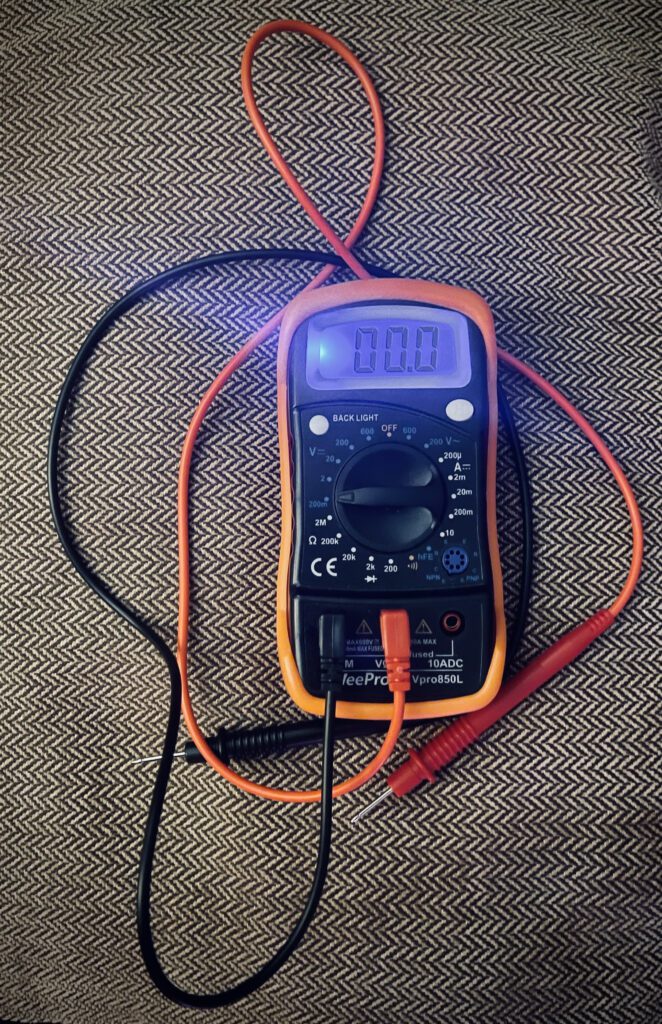
To someone who’s never seen one of these things, they can look intimidating. But with all things that seem overwhelming at first, they’re manageable when you break them down into logical smaller segments to work on or learn.
Although multimeters are super handy for all sorts of electrical tests and tasks, they all come down to three things: Volts, Amps, and Ohms.
- Voltage = Volts
- Current = Amps
- Resistance(or continuity) = Ohms
For each of these items that you may want to test, there is a specific symbol. The symbols are probably what throw people off the most. And I don’t have them on my keyboard, except for Ohms, so here’s a great breakdown of what all the dials, buttons, and symbols mean, compliments of Fluke:

What got me onto this kick was an article about how to use a multimeter in Popular Mechanics, which is one of my favorite things ever. They rate theirs and had two Flukes, a Klein, and a brand I’m unfamiliar with – the Extech EX470 as the winner. But the FLuke website has a lot of valuable resources when it comes to multimeters. Learning how to use a multimeter as well as them individually, just as tools, which PopMech is a leading resource for.
First, make sure your batteries are in good shape. Next, make sure your leads (the red and black wires that came with the MM) are in the right ports:
Two leads are supplied with every multimeter, one black, and one red. Some meters have three jacks and some four. The jacks into which you plug the leads depend on what you’re testing.
- COM is the common jack, and it’s the only black one. You always plug the black lead into this jack.
- A is the jack where the red lead goes if you’re measuring high current up to 10 amps.
- mAVΩ is the jack for every other measurement, including sensitive current measurements, voltage, resistance and temperature, if the meter has only three jacks.
- mAµA is the jack for sensitive current measurements (less than one amp) if the meter has four jacks.
- VΩ is the jack for all other measurements except current.
In reality, it doesn’t matter which lead goes into which port as far as if it’s red or black. The port itself matters, of course. But it’s a good idea to get into the habit of using red with red and black with black. Also, a safety tip: ONLY handle the red and black lead with 1 hand. That takes some practice, but you don’t want to accidentally become a human circuit. Trust me; I’ve been shocked big-time before. It’s no fun, but hopefully, you live. (Someone left a workshop extension cord with a cracked/broken female housing plugged in and laying on a wet concrete garage floor for me to pick up barefooted when I was a little kid. If they weren’t there to unplug it, amazingly, I’d be dead from electrocution. So there’s your warning.)
Here’s how to test capacitance. I learned all about capacitors and resistors and want to practice my soldering, which is another post. I have a great soldering station and nothing to solder.
How to test for continuity with a multimeter. Use a multimeter to test for a break in an electrical circuit. The meter measures resistance, and there are exactly and only 2 outcomes. Either the circuit’s broken (open), and the meter reads infinite resistance (denoted on digital meter displays as “OL” for “Open Line”) or the circuit’s intact (closed), and meter reads 0 (or close to it).
Continuity may also be viewed as resistance from another perspective and is what the Ohm setting is used for. A multimeter measures resistance by sending a small electric current through the circuit. The symbol for the unit of resistance, the ohm, is the Greek letter omega (Ω). All these topics are available with a good Google search, of course. But I’ve done that and these seem to be the best resources. If you REALLY want to get down and dirty with a multimeter, here’s a 2+ hour course on video explaining how to use a multimeter.