

After running low on my favorite, usual filaments I print in, I find myself being forced to stretch outside my comfort zone, which is great. I look for those opportunities so I can learn new things and glean new perspectives. Apparently, the liberal arts side of my brain is suddenly dominant and winning some battles. I suppose if someone asked me what my goal is with this 3D printer, it would be to master it and its ecosystem. To eventually be able to create anything I want for any need. I’ll get there.

I have a brand new, never-opened box of Hatchbox filament that’s WOOD. So I got up on the high-dive and did a Triple Lindy. If you got that joke, you’re a special person, who gets no respect…
What better thing to make with wood and a Superstar than the 1st thing you ever make in Shop Class? That’s right!
A BIRDHOUSE!!
I scaled it down to 85% because if I printed it at 100%, which I could have, it would take up pretty much every square inch of my printer’s ability to print or anyone’s for that matter- the printer itself is irrelevant. If you want to skip this part and get to the real work that awaits me, click here.
I JUST put a new steel nozzle on it, Wood filament has real wood fiber in it so it physically will wear down the nozzle tip more quickly. I bumped the heat up for it a little. Specs are below for the true nerd.
I checked all my gauges, temps, and fans. Mission Control back in Dallas had my back. I knew the time was about to come. And I began printing with it. I adjusted the bed on the fly, which I’ve gotten good at, and kept things buckled down. As I was closely watching that first layer, I saw a bit of old, dried filament on the bed.
So I grabbed a pair of looooooong tweezers, as you see in surgery, and while trying to get that speck of nothing off the bed, I ripped up the first layer. Which, normally would be an immediate “Abort print.
But the way this is printing, the size of it, and how it’s going to look when done will be interesting. For a print like this, I just let the printer just keep on going, because it has to build a thick-floored house, which can be measured and adjusted in your slicing software. It’ll “cover-up” those blemishes.
And I hate aborting print jobs. Nothing lamer. Well, much lamer. But LAME!
Estimated Print Time:
1d 20h 42m 49s
386.243 grams of filament to be used for this out of my 1KG stock. Not bad.
Notes from the job:
Profile: Hatchbox Wood Filament: Generic PLA Settings: Quality Layer Height: 0.2 mm Line Width: 0.4 mm Walls Wall Line Count: 3 Top/Bottom Top Thickness: 2.0 mm Bottom Thickness: 2.0 mm Infill Infill Density: 85% Infill Pattern: cubic sub div Material Printing Temperature: 210.0°C Build Plate Temperature: 60.0°C Speed Print Speed: 50.0 mm/s Cooling Enable Print Cooling: True Fan Speed: 95.0% Support Generate Support: False Support Structure: tree Support Placement: build plate Adhesion Type: skirt
I will say it smells smoky in here like someone’s been burning wood, which makes sense because I have been. If you’re sensitive to irritants like that, it’s best to enclose the printer, ventilate correctly, or just print with regular PLA and paint it to look like wood, which isn’t hard no matter the skill level. But I’m in front of a fireplace that emits greater by-product.
Or, I guess you could wear a mask. I’m sure there’s one within reach of you right now.
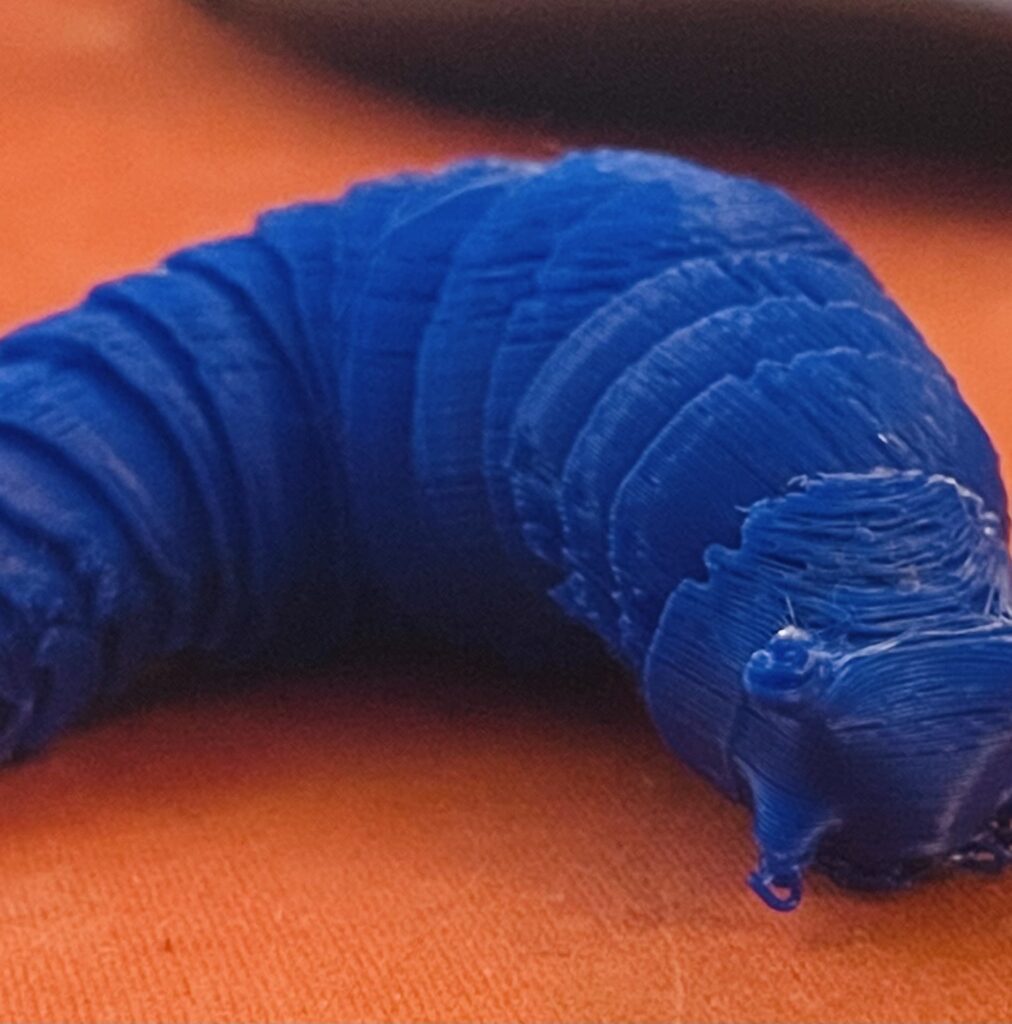
This is an admittedly shoddy print that deserves to be tightened up a lot. Let’s consider it a “test.” A “slug” indeed. It reminds me of the caterpillar in “Alice in Wonderland” which is probably why I like it.
The more I look at it, the more dreadful it looks, quality-wise. But I just put on new gear, so recalibration is expected. And boy, do these things have a lot to calibrate. Once it’s dialed in, it’s party time. But it’s a rocky road to get to that point sometimes, depending on how far you were knocked back by unforeseen and unexpected issues, which exist in any situation in life.
I did some research on PLA Wood filament, which I have a brand-spanking-new spool of sitting here. First-up, birdhouse. Next? Maybe some trees for my daughters’ dolls to play amongst in our little games or doll furniture. If I can print out doll-house furniture for her that she likes, we’re in Heaven. Here’s Senor Slug oozing around my coffee table/workbench.


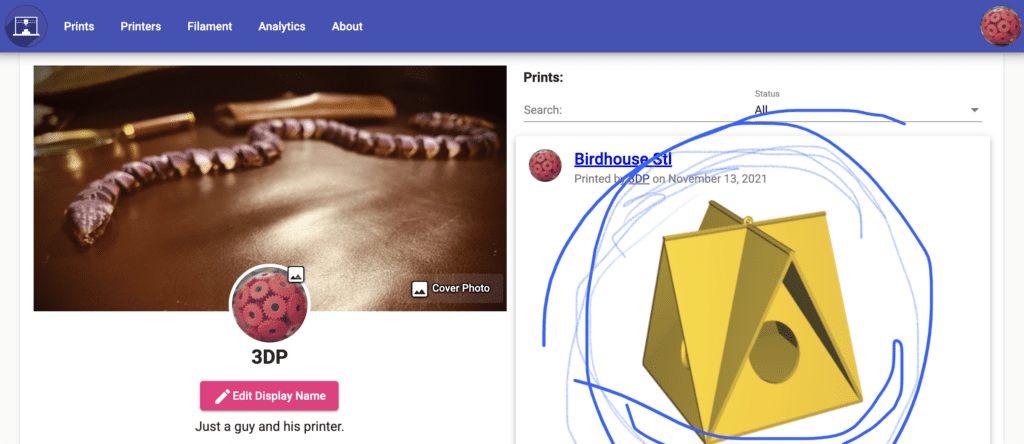
I managed to circle it by using an old touch/pen and my MacBookPro, which is getting quite old these days, connected to my phone and uses it as a tablet or someone else could use it collaboratively. It’s a really cool new feature to me, at least. Totally frictionless.
I’m printing all sorts of insects of bugs for Cecelia to learn how gross science is without going sea-tube diving in the Galapagos.
Octoprint’s saying 19% done. I don’t see it, and I can tell I’ll be helping the birds build their nest as well. It’s not really sticking that well at this temp it seems, maybe I should have upped it by 5C? You just have to learn these things so they’re intuitive. Which takes fortitude, resilience, and determination when everything is falling around you.
The texture totally looks like “wood.” So far it’s like printing in bamboo.
Not surprisingly, Cecelia has dark tendencies, and they seem to be growing darker, in an unregulated fashion, which is what a parent should be steering their child away from, while at their side. The responsibility of discipline has been diverted to the mother so no one’s doing that for her. Or much else these days, which I’m sprinting down the long path to correct.
Well, I flew too close to the Sun, which you can tell me in your best Martin Prince or Comic Book Store Guy voice. The first birdhouse got “29%” through and hit what I would call a point that costs should be sunk. In other words, abandon the print. Know when to make an executive decision and make it.
Done. And I found a better file and tweaked my settling a little, Hotter hot end, and a few other adjustments which seem to have been a good idea so far with this print, which is taking less time than the first as well.
This printer’s so quiet with those silicone spacers on the bed instead of the metal springs, it’s not even funny. You wouldn’t know it’s even in the same room if you put a bigger, quieter fan on it. That’s all I can hear now is the little fan going at 100%. I’m not kidding – it’s like the difference between driving a dump truck down a rocky road and a Tesla down the interstate. It’s that different for me.
And this first layer is looking good so I’m optimistic. I’d love to be able to give Cecelia a finished birdhouse in wood by Thursday of this week. She’s one of my better clients you know. I don’t want any cries of “I’m not a state! I’m a monster!”
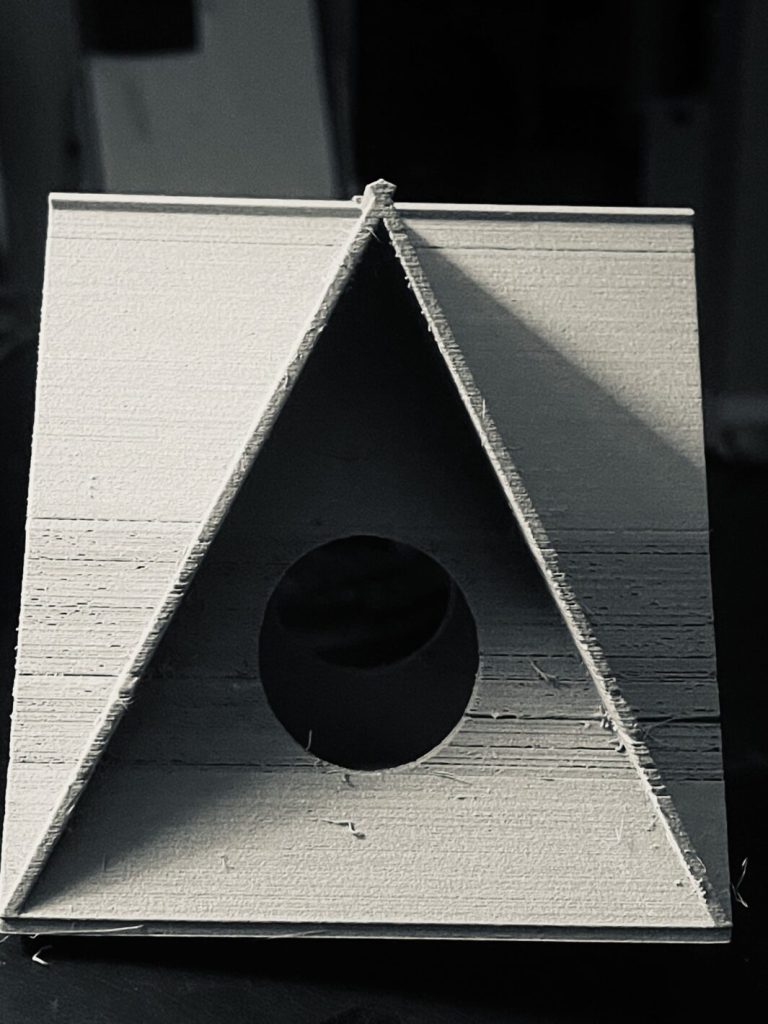
So the birdhouse is built! It looks good, to me. I needed to remove some stringing, which is due to improper hotend temperatures. And the bumps, detria, and over-extrusion may be a result of needing to adjust the retraction settings.
And the loop that was meant to be what you string it up by, was a joke. Just crumbled. So I’ll drill a little pilot hole for an eye screw and see if that holds. I’m worried about it holding a decent amount of weight because you never know. And squirrels. But the last thing you want is for a family of birds to settle in and it falls to the ground, shattering their eggs. I can and hope to prevent that disaster scenario. So I consider that print a success!
Now for the scary part.
Before I printed that Bird Mansion, I did some considerable work on the printer. And I can see where it’s heading.
When I bought this printer I remember being afraid I was pressing the touch screen too hard. I treated it like a Faberge Egg that had been handed down to me from the Heavens, as I view my daughter. Like the Apes assessing the monolith at the beginning of 2001.
Since then, and like with my sweet girl, along the way I learn how and where to attend to each need/want gently where needed and firmly where needed in other places.
So here’s the story:
I’m running low on PLA filament, which I like and am used to printing with, and PLA is what most people these days use. PLA can be found “pretty cheap” these days. ~20 a spool for basic filament. ~$25 for silky and multi-color, and ~30 for PLA+ and exotic “plastics.” The filament is made from corn starch and beet sugars and organics, so it’s bio-degradable. There’s been some mumbling about how “eco-friendly” PLA filament is for the oceans. But you have to take a step back and look at those matters scientifically, including half-lives of the material. 50 years might seem like an eternity to some humans, but relatively, it’s not even a speck on a piece of dust tossed up into the air.
And I often wonder what the financial margins are on different filaments. I don’t see why filament shouldn’t really be anything more than a commodity at this point, with exotics like wood, silk, metal, and hybrid filaments of course being another matter. Especially if made from corn starch. The US is still subsidizing corn farmers, even though it sits rotting in silos across the land.
So I busted out the five (5) 1KG each spool of ABS filaments I somehow ended up with, and haven’t been able to sell or trade. So, I figured, I might as well learn how to print with it as well. It can’t be that hard. Higher temps and a few other considerations, and that’s it. I just printed with “Wood” and the house still stands.
When I loaded the bright yellow spool onto the printer, ran Filament in, and sliced and sent my G-Code to the printer, nothing was coming out. wHat the…..?
This is all a buildup to a major problem here, so hang on.
Now, keep in mind, I JUST did the following:
- Replaced the extruder gear. Replaced all other removable parts in the extruder. Why not?
- Brand new Bowden tube.
- Brand new hot end in it’s entirety.
- A brand new .4 mm nozzle. AH- HA!
“Wood” filament had actual little wooden fibers in it, so it wears on parts harder. A lot harder, on a micro-scale.
So I wondered if that had anything to do with the clog that was holding me up from printing at 230C nozzle temp?
There was no way there’s a problem inside the hotend, around the heat break. I haven’t removed the Bowden tube, as I discussed earlier.
So, I used one of my dental picks to try and clear any obstruction in the nozzle tip. No difference. Hmmmmm. Let’s just put a new nozzle tip on this thing and see if that solves it.
It was at this point when I thought I caused a bigger problem than I had ever realized.
And it was a point where a lot of people would just say “This is too much.” And that’s the end of their 3D printing exploration. The printer sits in a closet or dark corner until sold on Facebook or is given to someone who will rehab it.
Which is what I’m about. to have to do.
When I was trying to get the old nozzle out, I somehow caused a good bit of sparking and “out of control electrical currents” which I’ll leave up to you to define, but it was worrisome. I kept on and installed the nozzle. And now I’m getting a persistent “T0 senser problem” (spelling left intact) message which I sent to Anycubic. Because I know I probably shorted out something. Like the entire motherboard.
Let me say here that the decision to purchase this specific make and model printer (Anycubic Mega S) was some good research done on my part. I just want to pat myself on the back here, because it was a good decision, and this occasion doesn’t come along often. I was in a fog a the time I bought this, having just had my daughter taken from me and a host of insane activities from prior relatives, so it seems like some distant dream I had now.
Although I’m constantly messing with the printer, keep in mind I’m new at this, so I’m on the learning curve with everyone else. But Anycubic has made it as affordable and seamless of production as possible. Their videos are helpful but they’re scatter-shot all over the place instead of available as part of a centralized help resource. For example, Maintaining their now-patented Ultrabase couldn’t be any easier. But you have to do it the right way every time or you’ll ruin it as I did. And a lot of others do, haplessly.
Anycubic’s after-sales support staff have been great – Abel, Erick, and Leo Fast, polite and focused, and helpful. And even though the world’s shipping lanes and America’s ports, in particular, are currently FUBAR, they’ve partnered with an American distributor to get the basic, simple parts to customers fast. And Pretty much ALL the parts on a printer are simple and basic, right? When sitting alone in a bag.
But what awaits me is akin to quadruple-bypass heart surgery. Actually, a better simile is that I’m about to perform a heart/brain transplant.
I’m going to flip the machine on its back and put it in the stirrups. I have to remove all the wiring from the old motherboard, all the screws holding other boards down, and rebuild this thing from the ground up, basically. NBD.
That took her 7:28, sped up. So this is going to be an all-day show in the operating room.
What I aim to print when this is all said and done, is the following, which differs from my usual approach in nearly every way.
A slug. Which I’ve already printed out in prototype fashion. But I was in the process of printing a Mega-Slug when the walls came down. It’s a great model and is reticulated.
As an added feature of this printer, which I’m dying to put to the test, is a “pause” button. This printer is built so that if there’s an interruption to the power supply, the printer won’t forget where it left off. I don’t know if that’s part of its MOSFET abilities or what, but apparently, that’s a thang.
But supposedly you can hit “Pause” and change spools and continue like nothing ever happened. I’m skeptical, but I’m eager to be proven wrong and this works better than imagined. I’ve got my thinking cap/dunce cap on and tools at the ready. Multi-colored slugs of varying sizes and colors will be my and Cecelia’s reward.